WEEK 12
WORKSHOP + OPEN STUDIOS
Turning the project into something people could actually use
This week was about turning the project into something people could actually use and experience. The website had to support the workshop, the workshop had to generate meaningful outputs, and those outputs then had to be translated into physical collaterals for open studios. It was the point where the project moved out of testing and into real use.
Preparing the workshop and guiding interaction
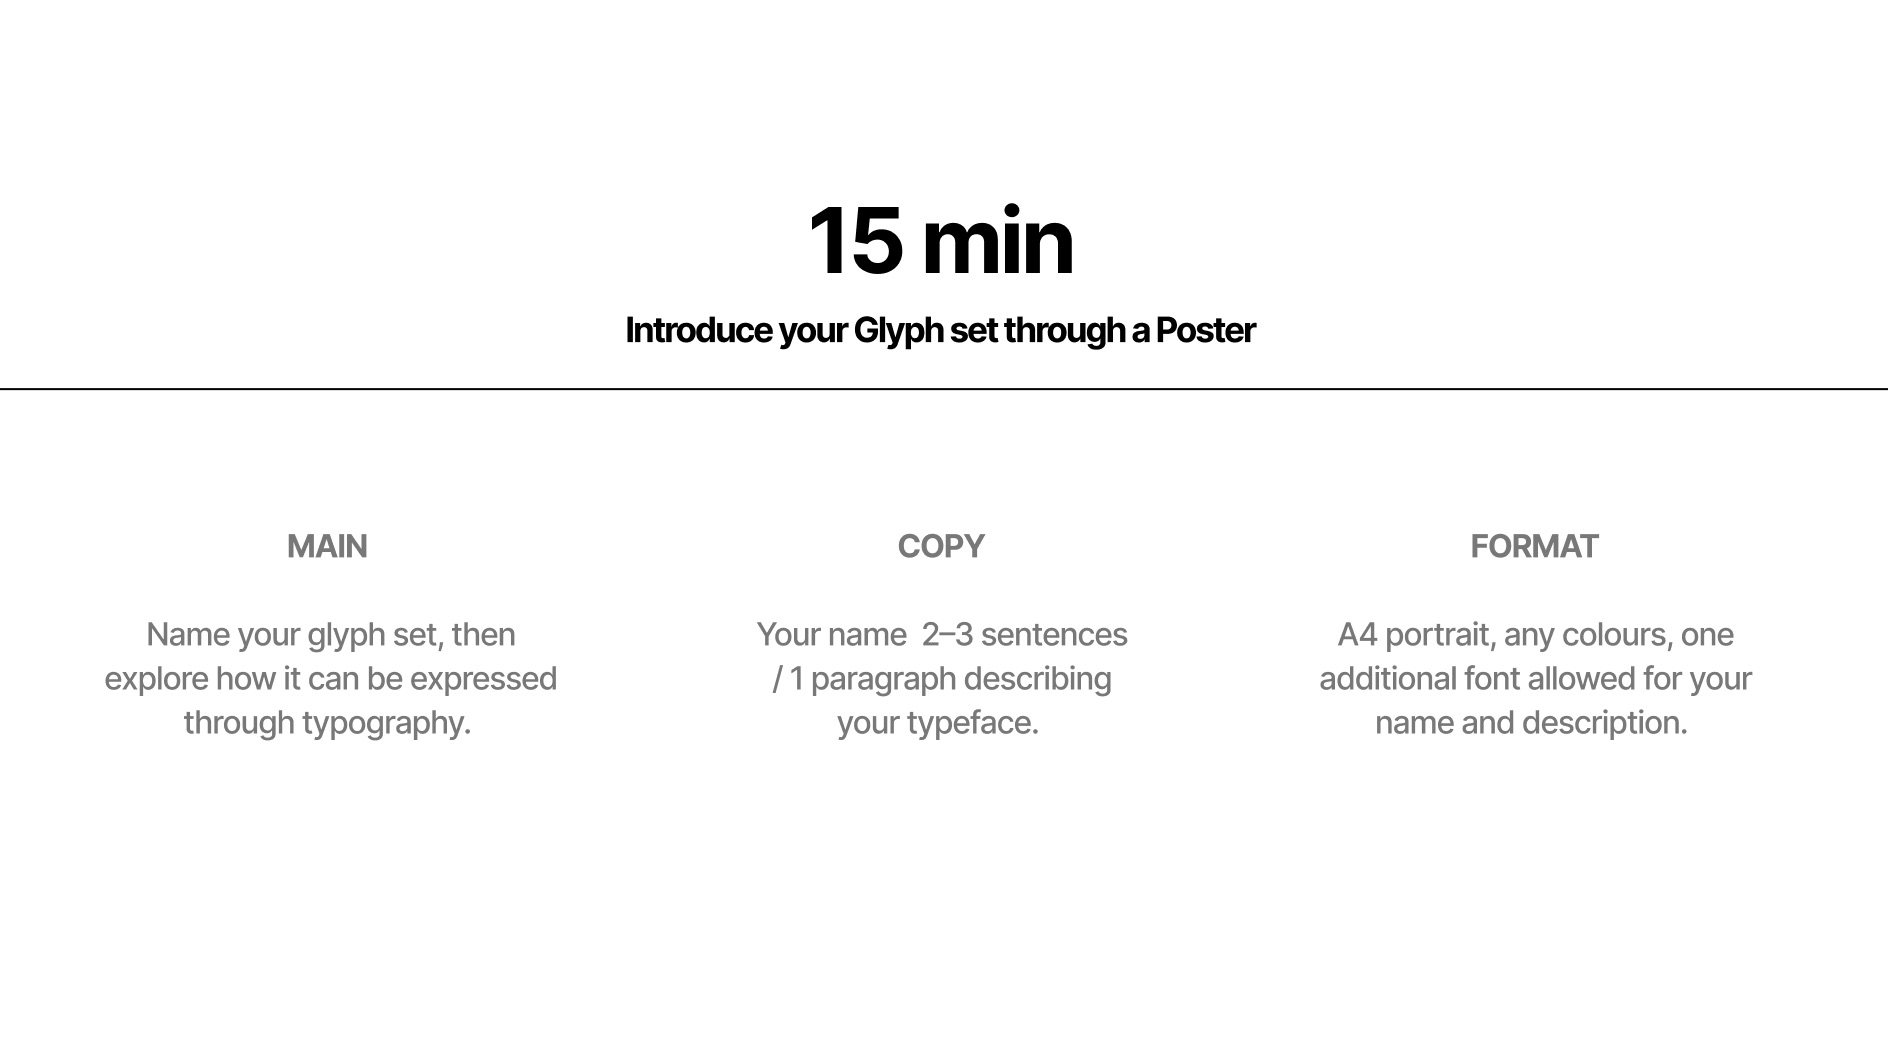
Designing clear instructions, prompts, and materials so participants could use the tool meaningfully and produce poster outcomes.
Translating outputs into physical collaterals
Turning digital glyph systems into zines, stamps, and tool cards so the project could be handled and experienced beyond the screen.
Bringing everything together for open studios
Planning the table setup and final arrangement so the digital and physical parts could work as one coherent installation.
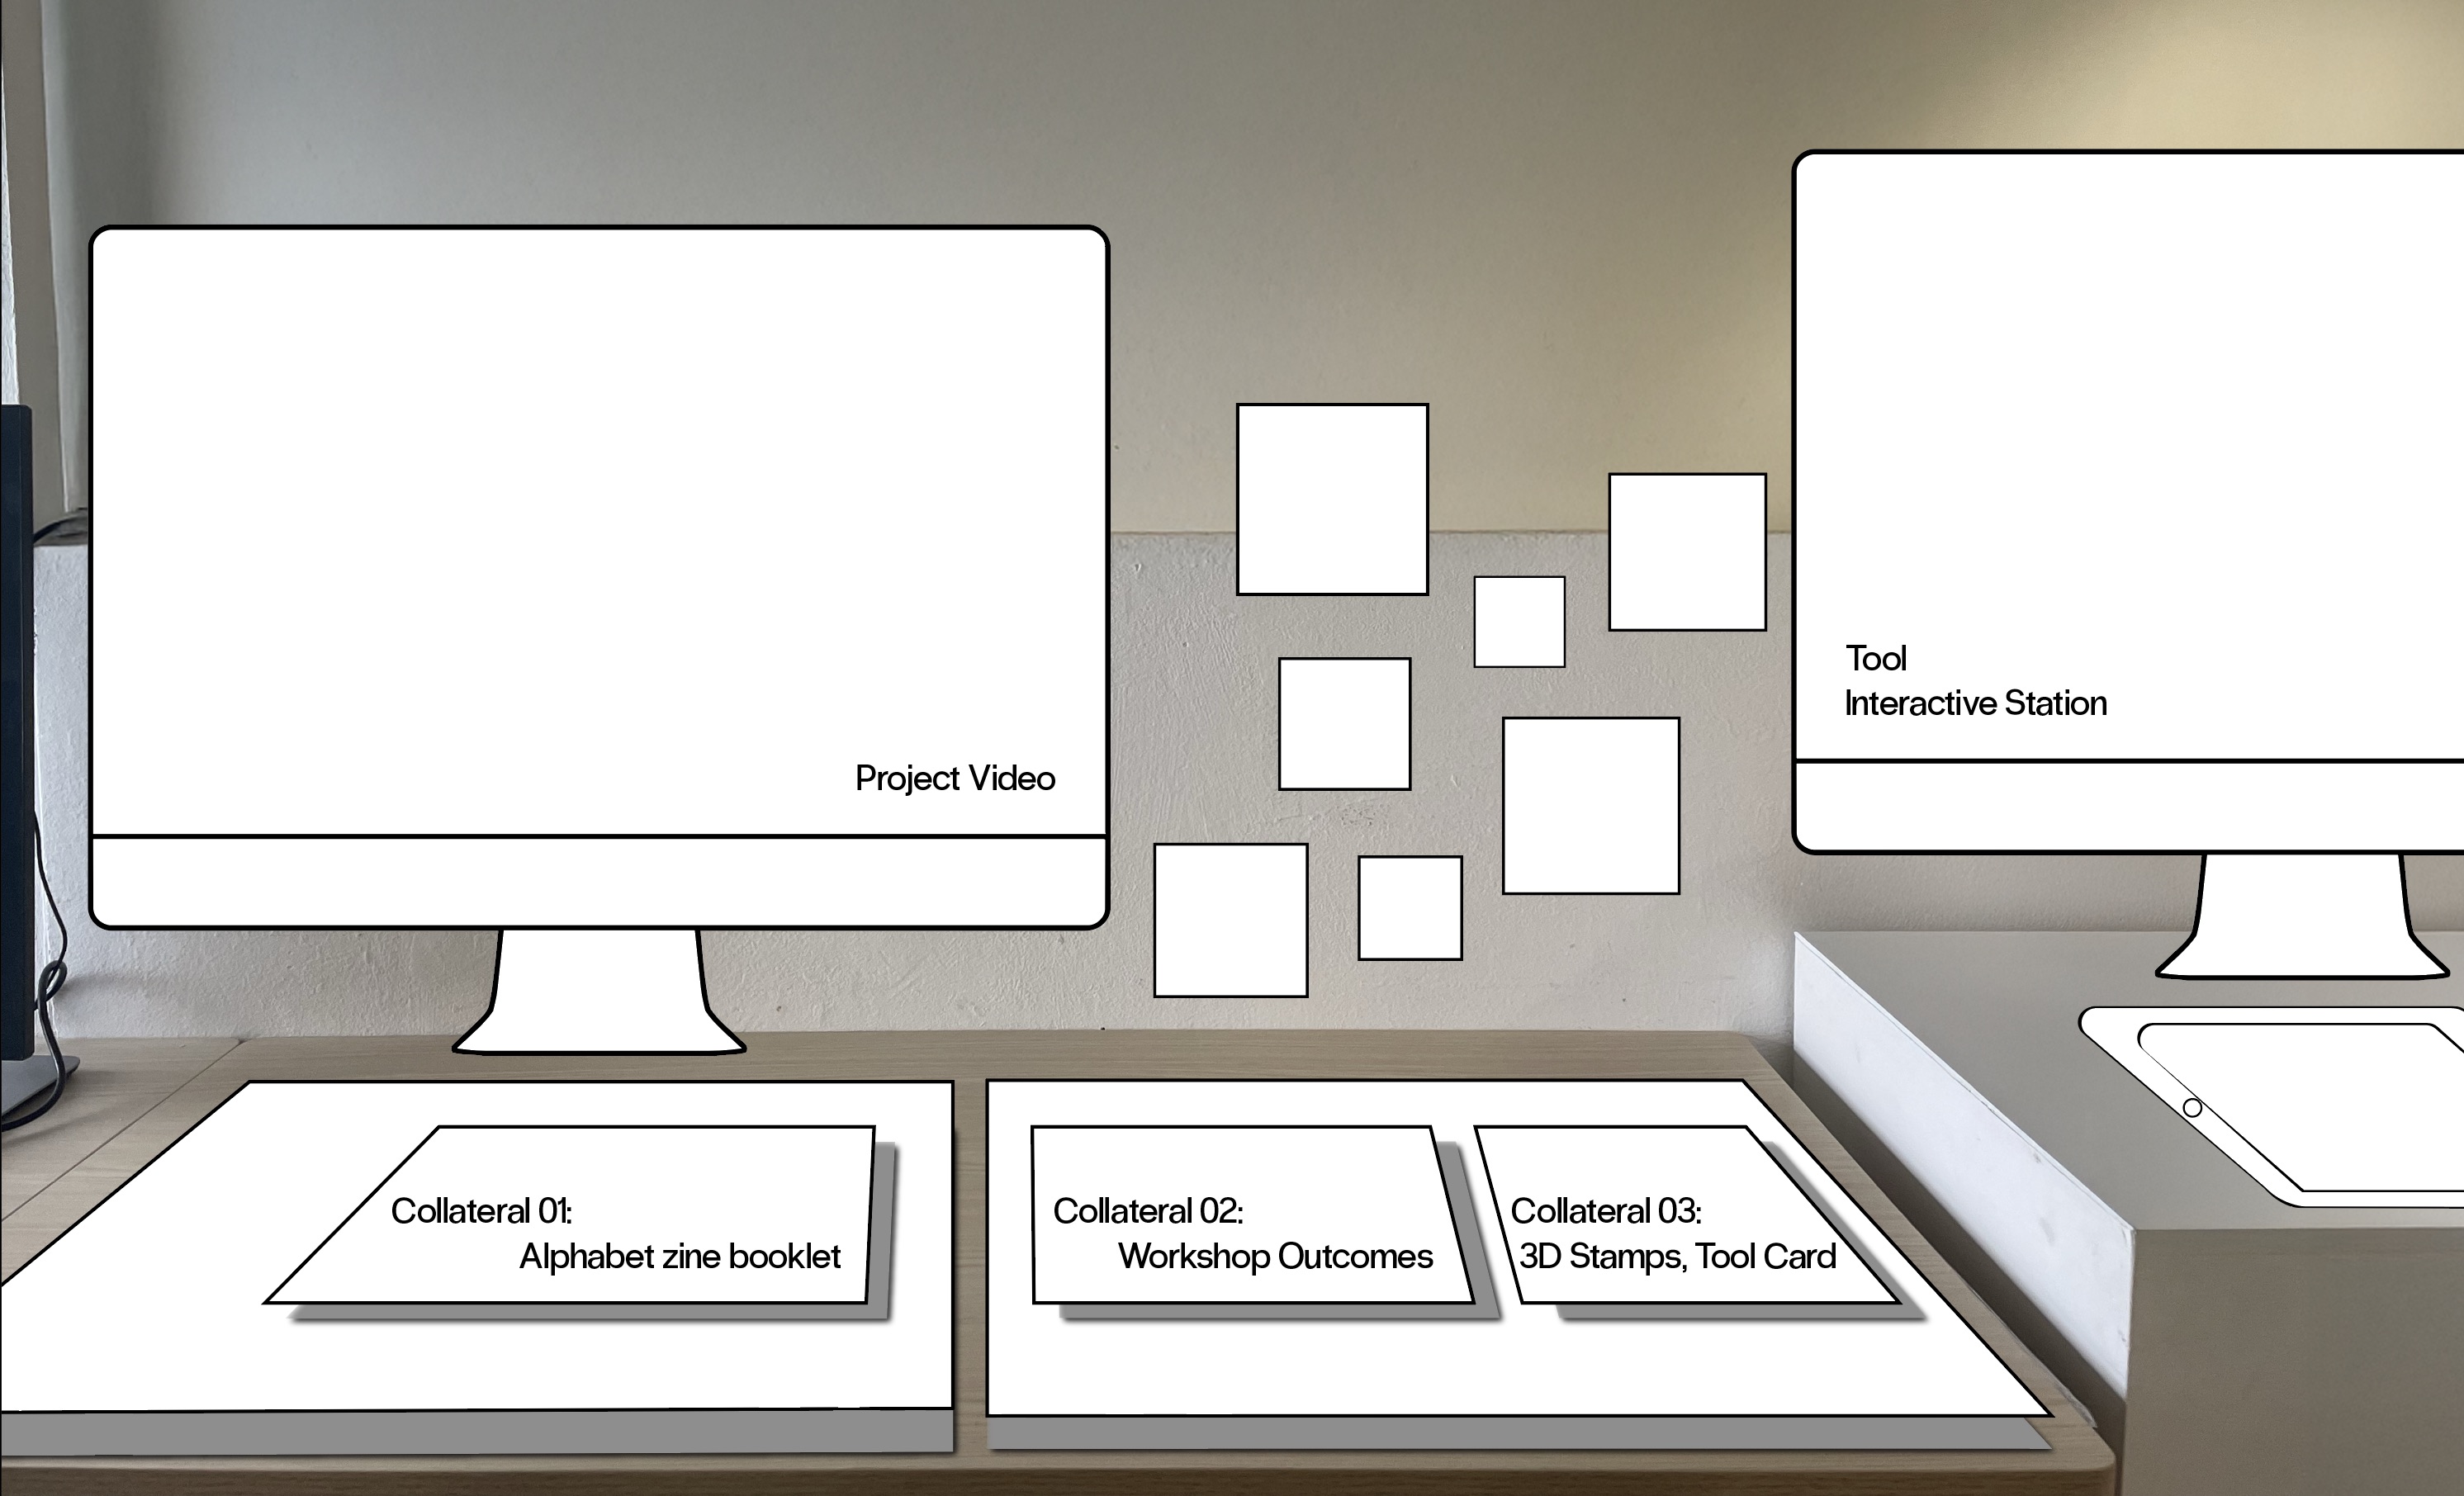
[ Mock up plan table ]
Planning the physical sequence
Table mock-up
Before producing the final setup, I planned the open studios table using a low-fidelity mockup. I took a photo of my actual empty table and overlaid the proposed arrangement in Illustrator. This helped me think through where each element should sit, what visitors would encounter first, and how the interaction could move across the table.
This was useful because the project was no longer only something viewed on screen. The table itself became part of the experience. I needed to think about sequence in physical space, not just on a website.
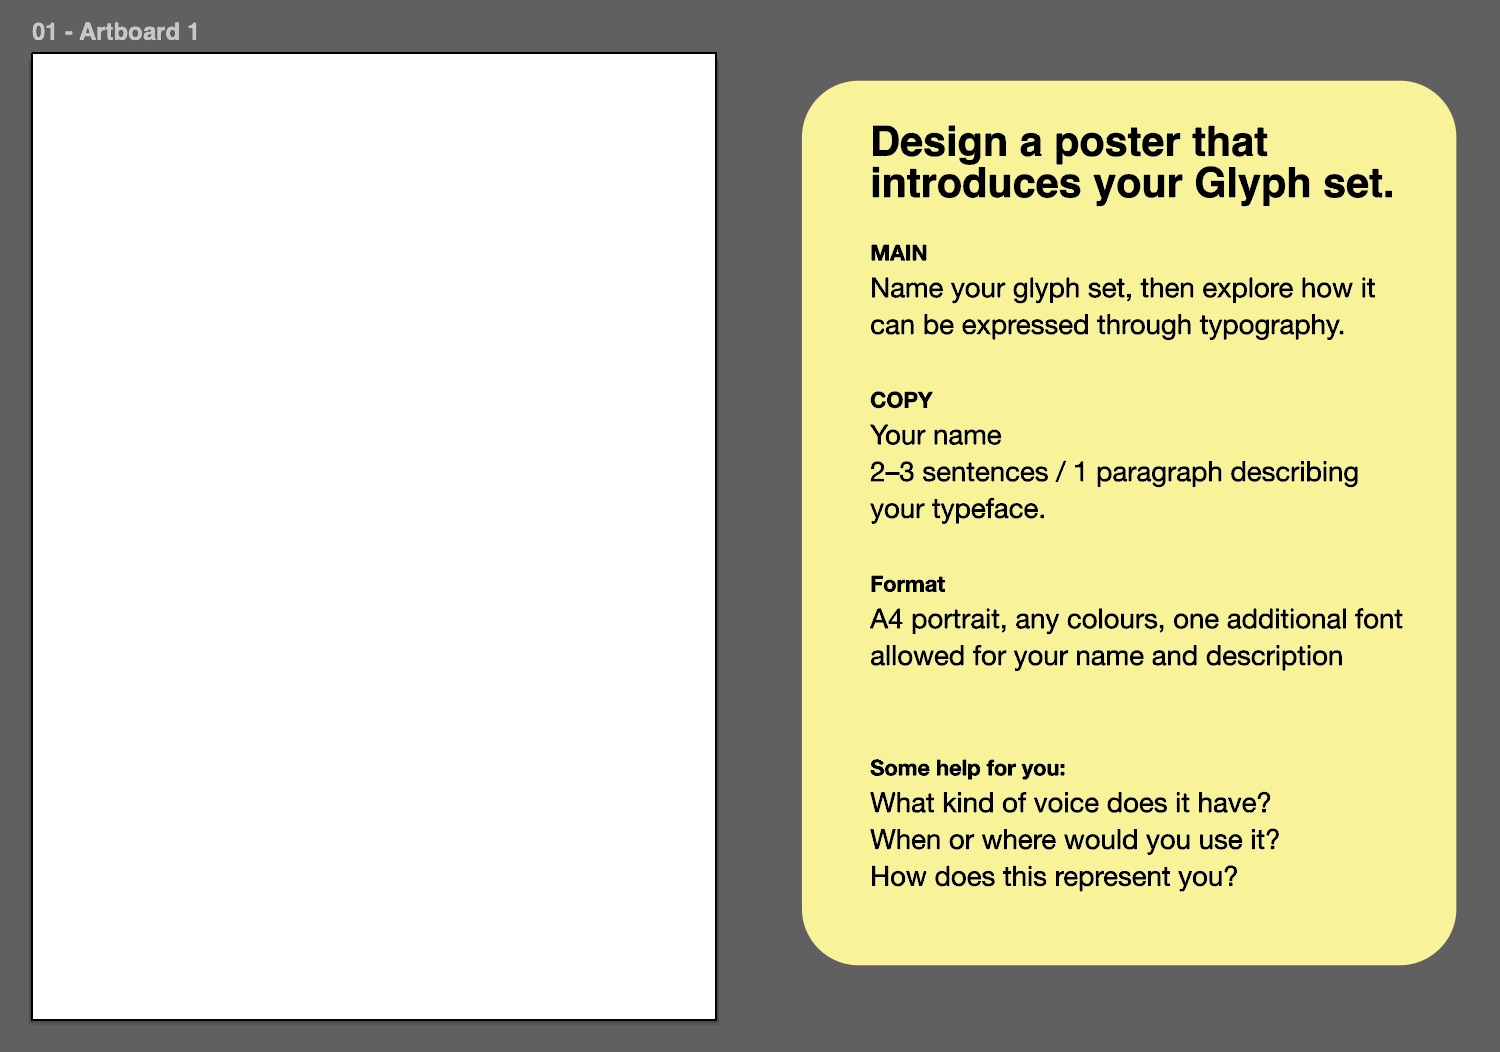
[ Preparing workshop materials ]
Illustrator file for workshop
A scaffold for poster-making
I designed an A4 poster file in Illustrator for the workshop. This gave participants a starting structure to place and compose their downloaded glyph outputs, while still leaving enough room for interpretation. The file acted as a scaffold rather than a finished design, helping the workshop feel guided without becoming too restrictive.
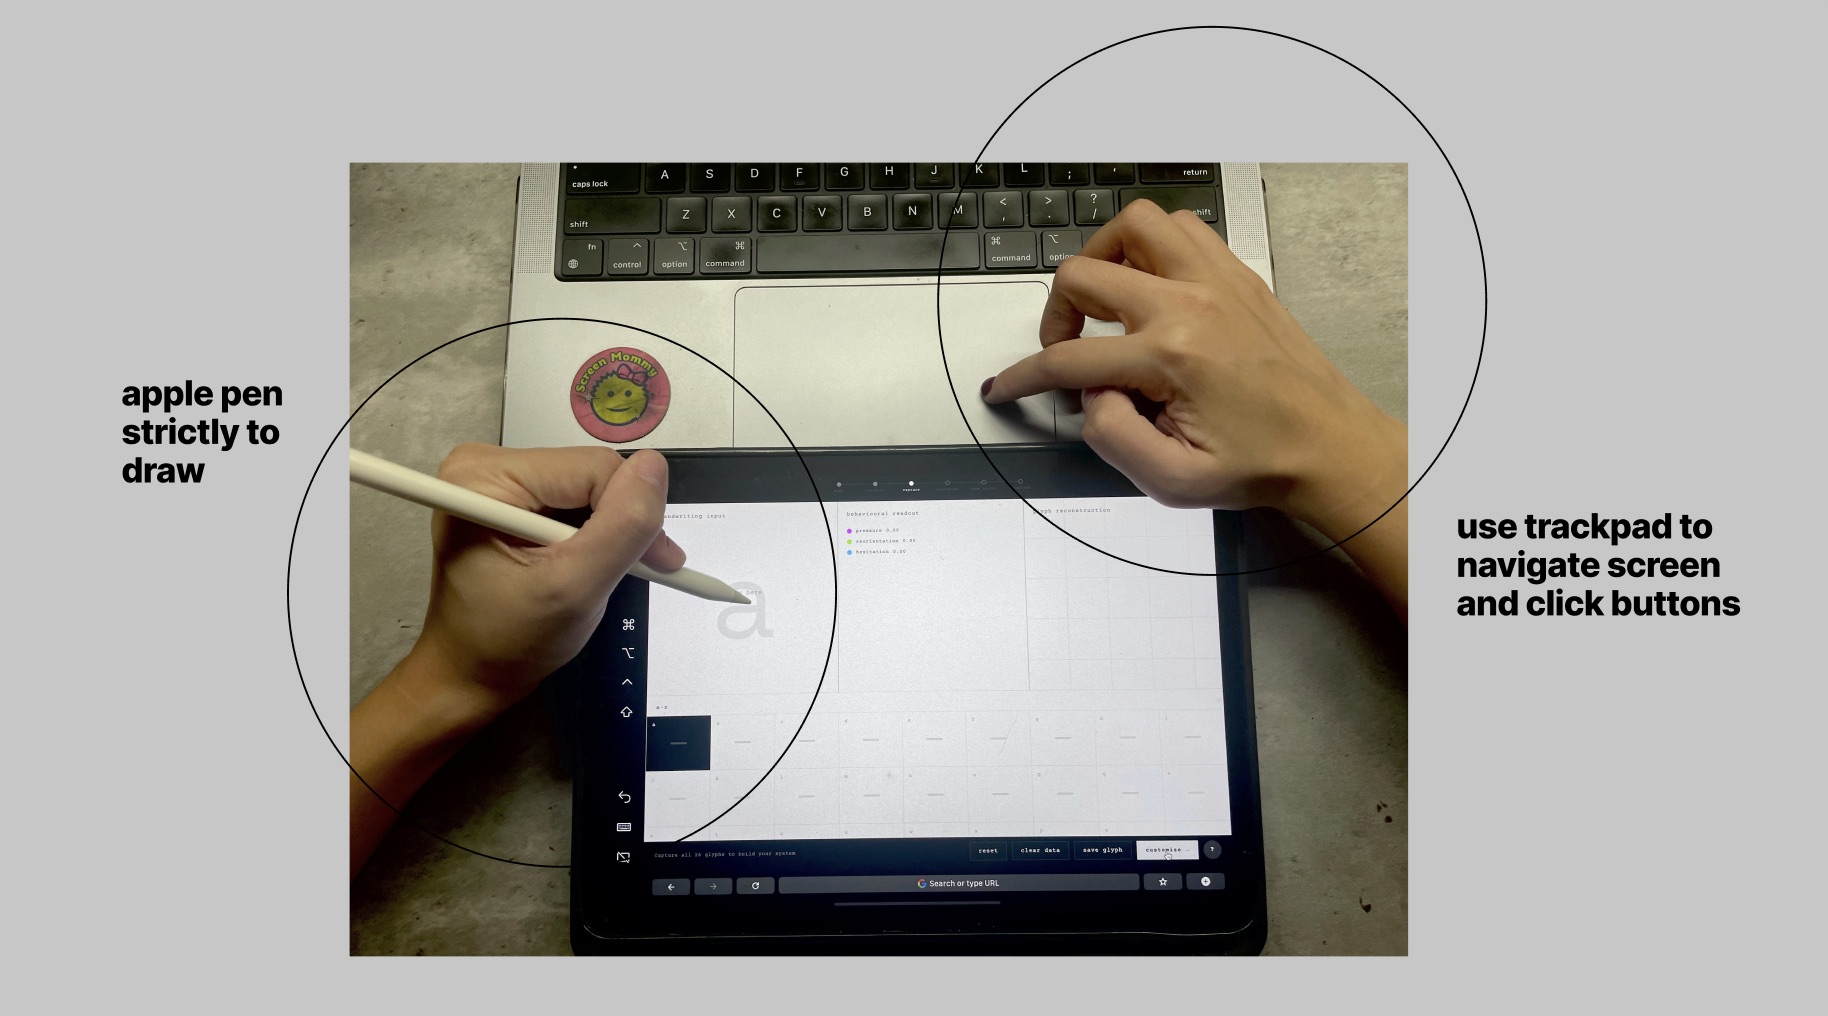
Slides for workshop
Reducing confusion before participants began
I also prepared a short slide deck to support the workshop and reduce confusion before participants started. Since the workshop involved both using the website and producing a poster, the slides helped connect the tool to the final outcome.
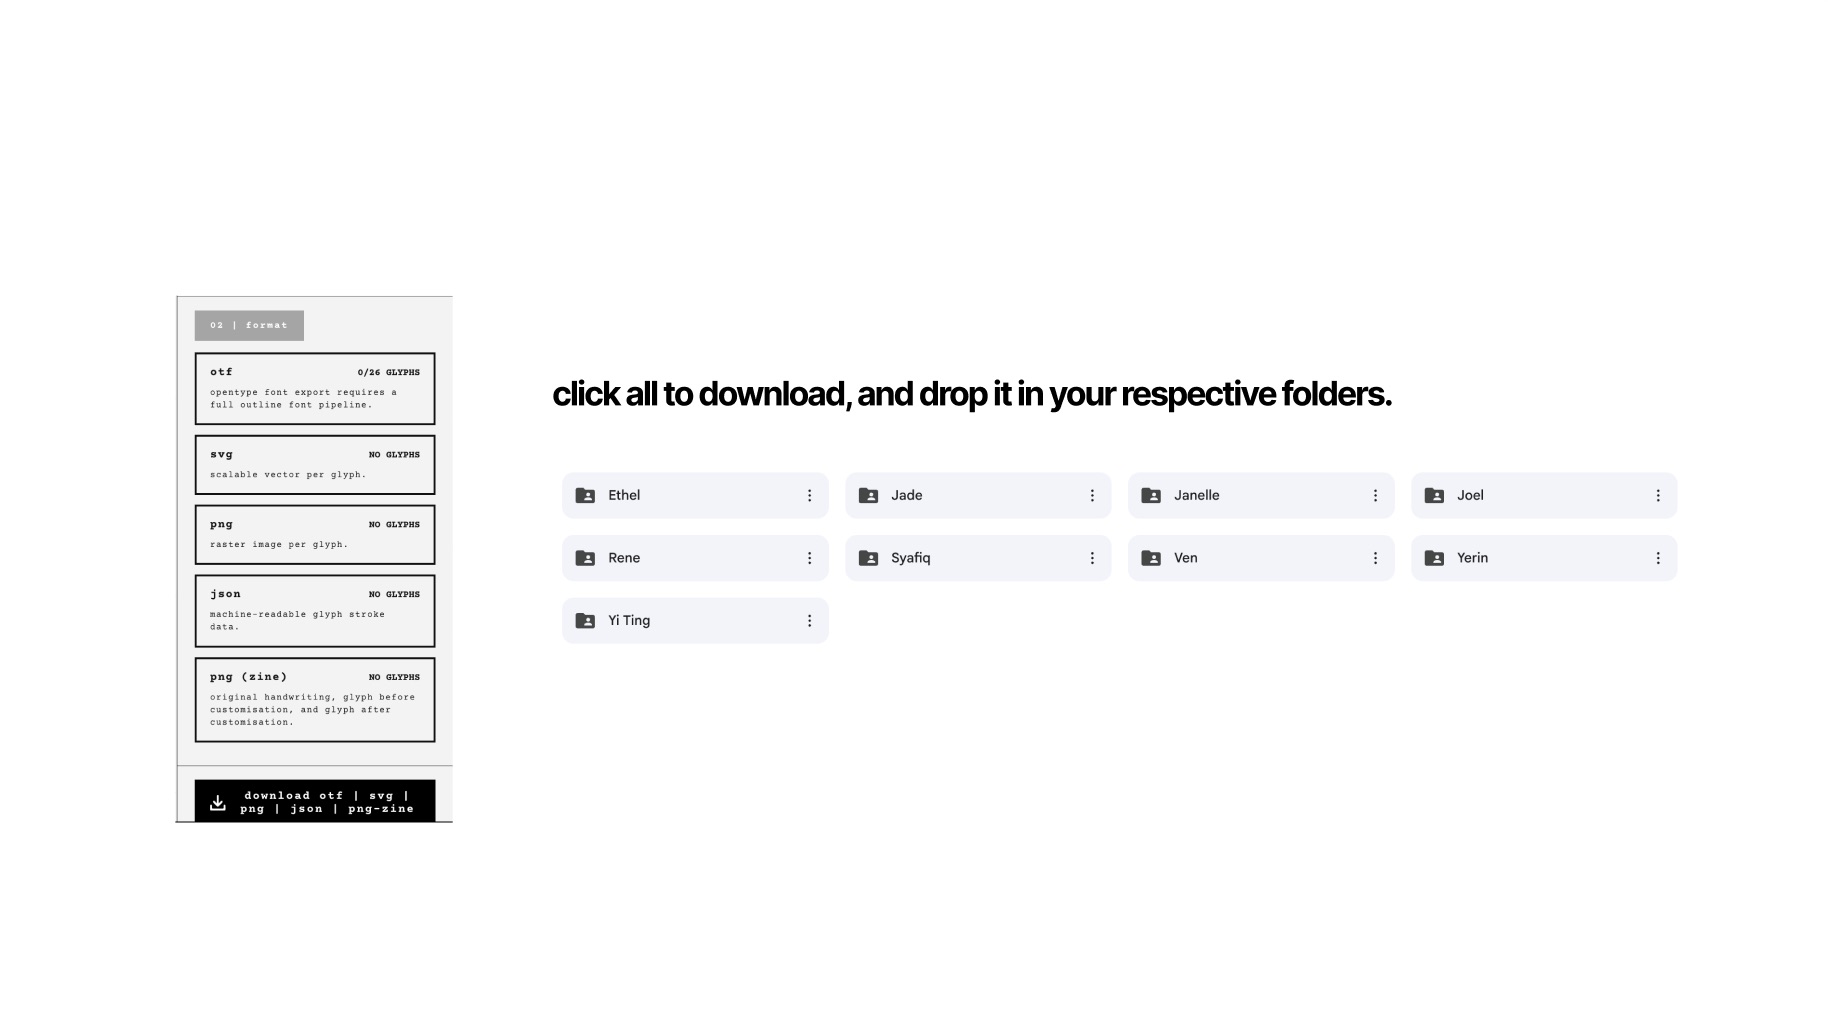
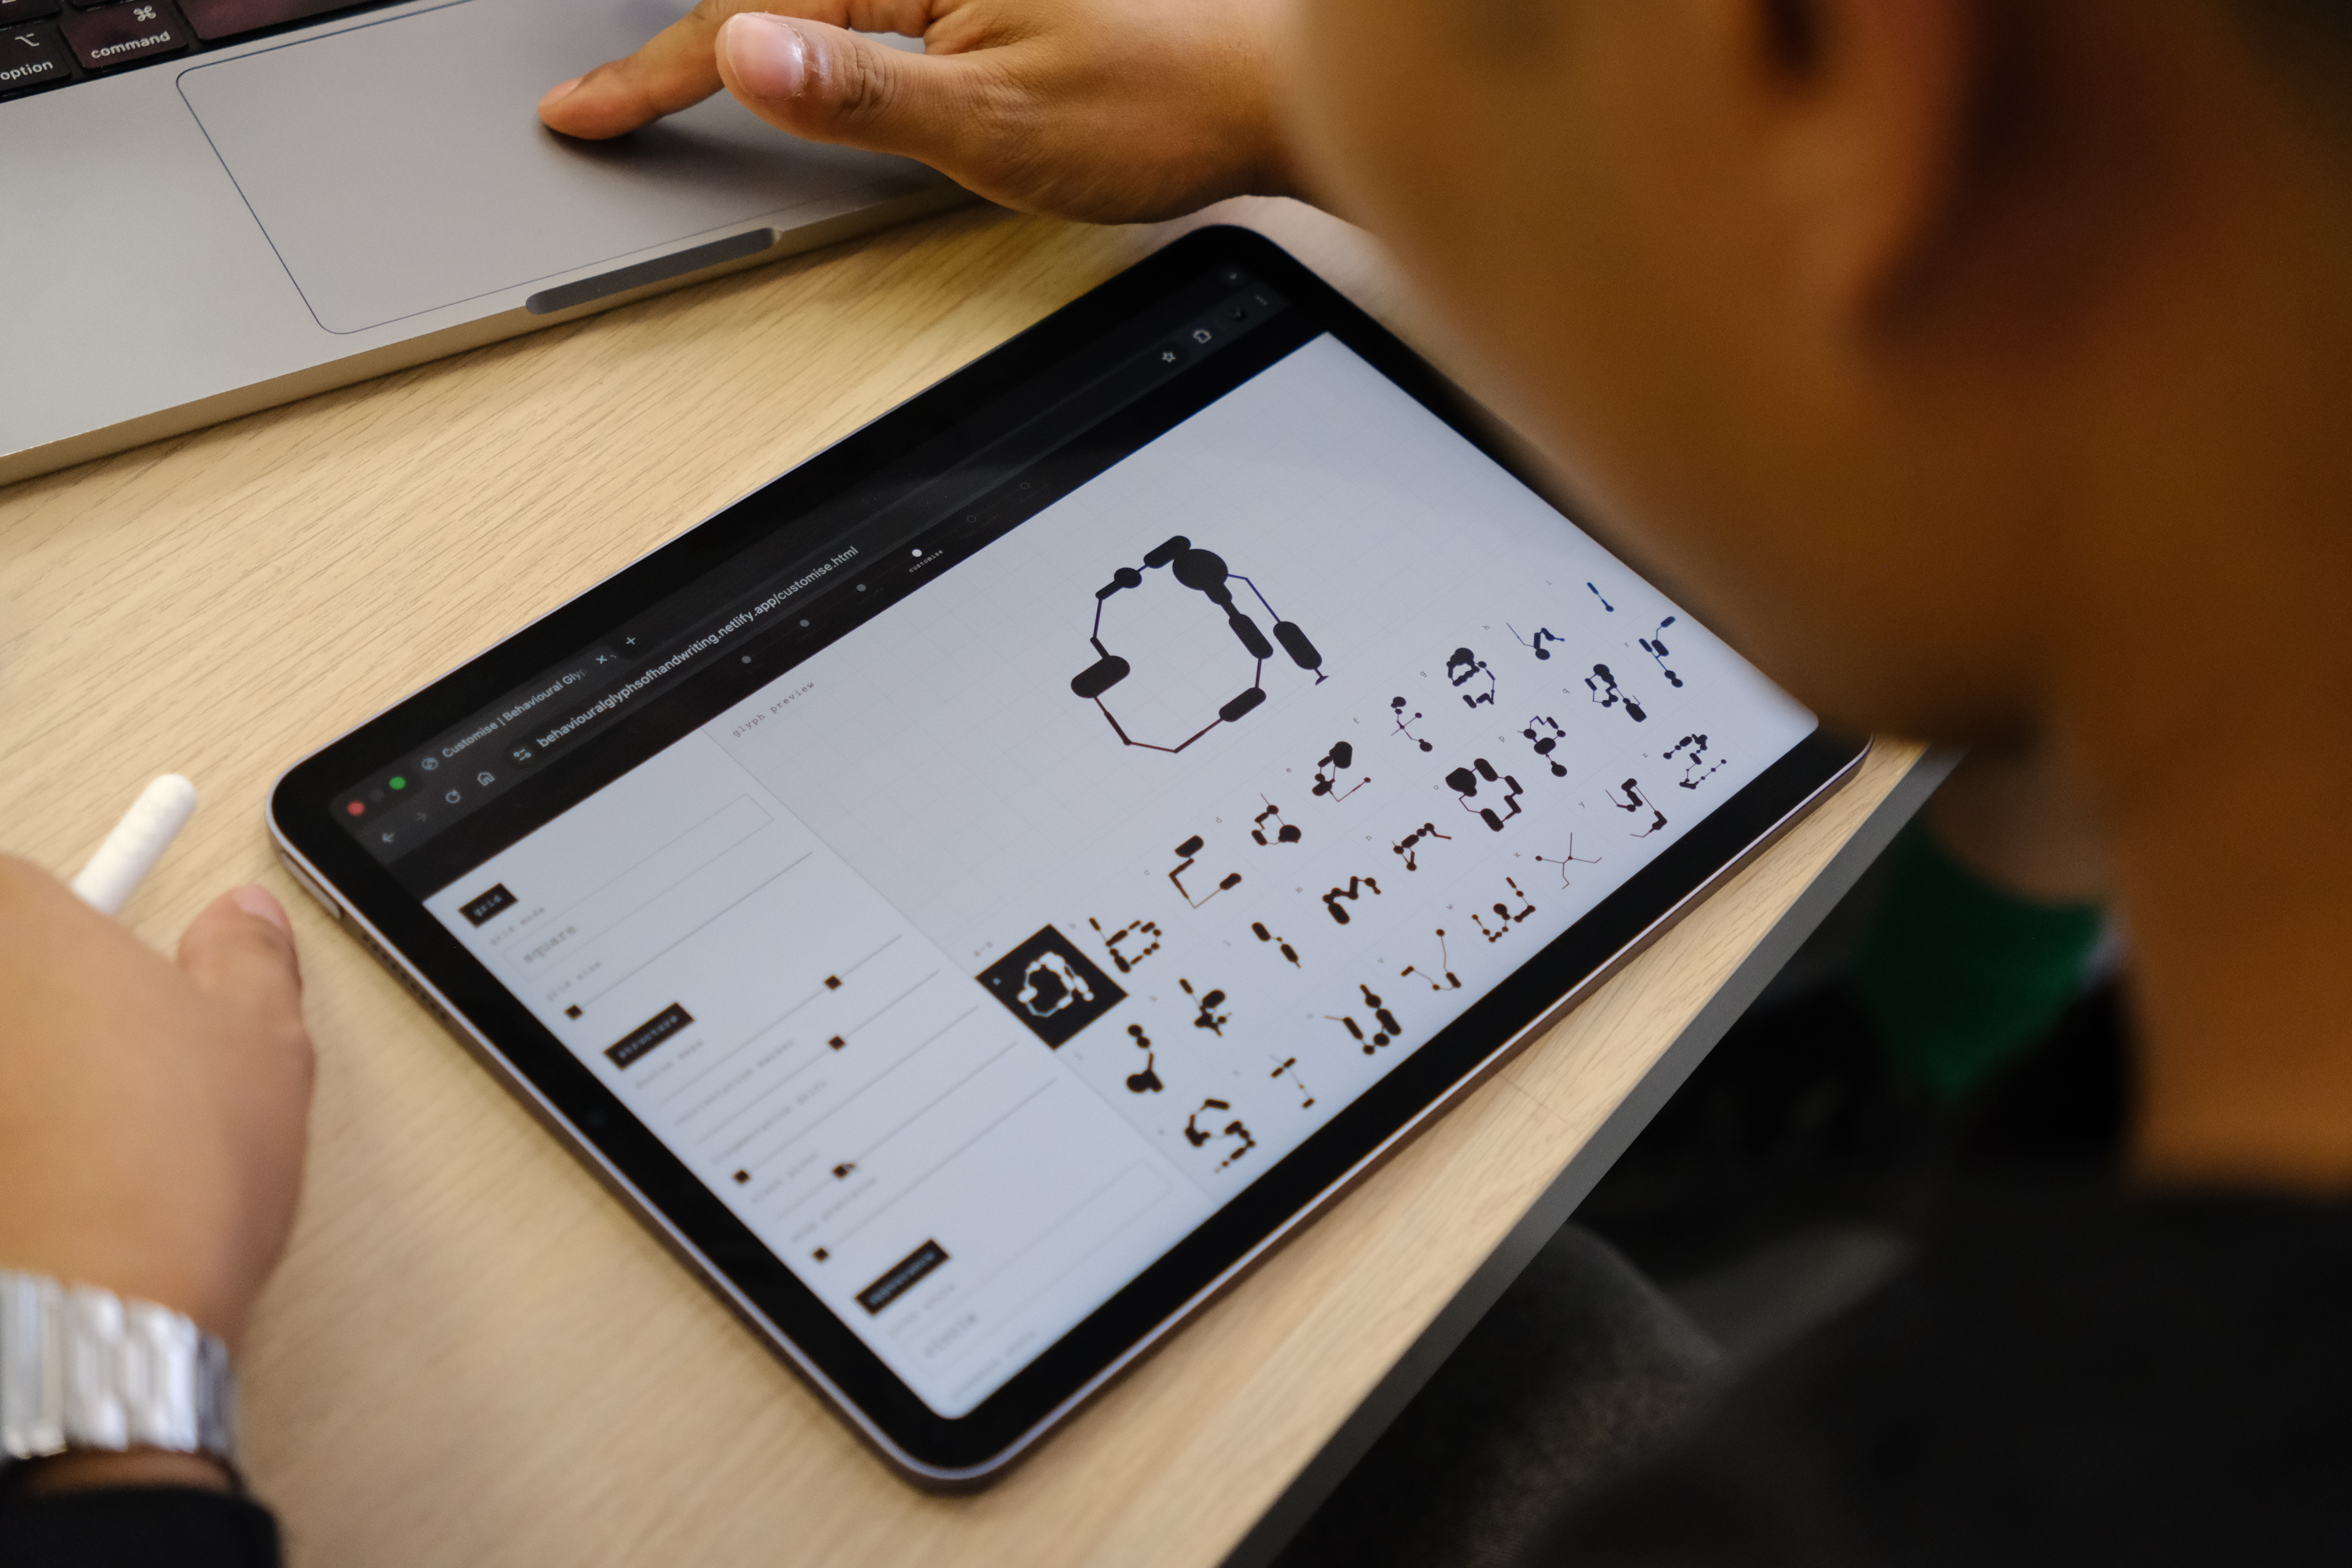
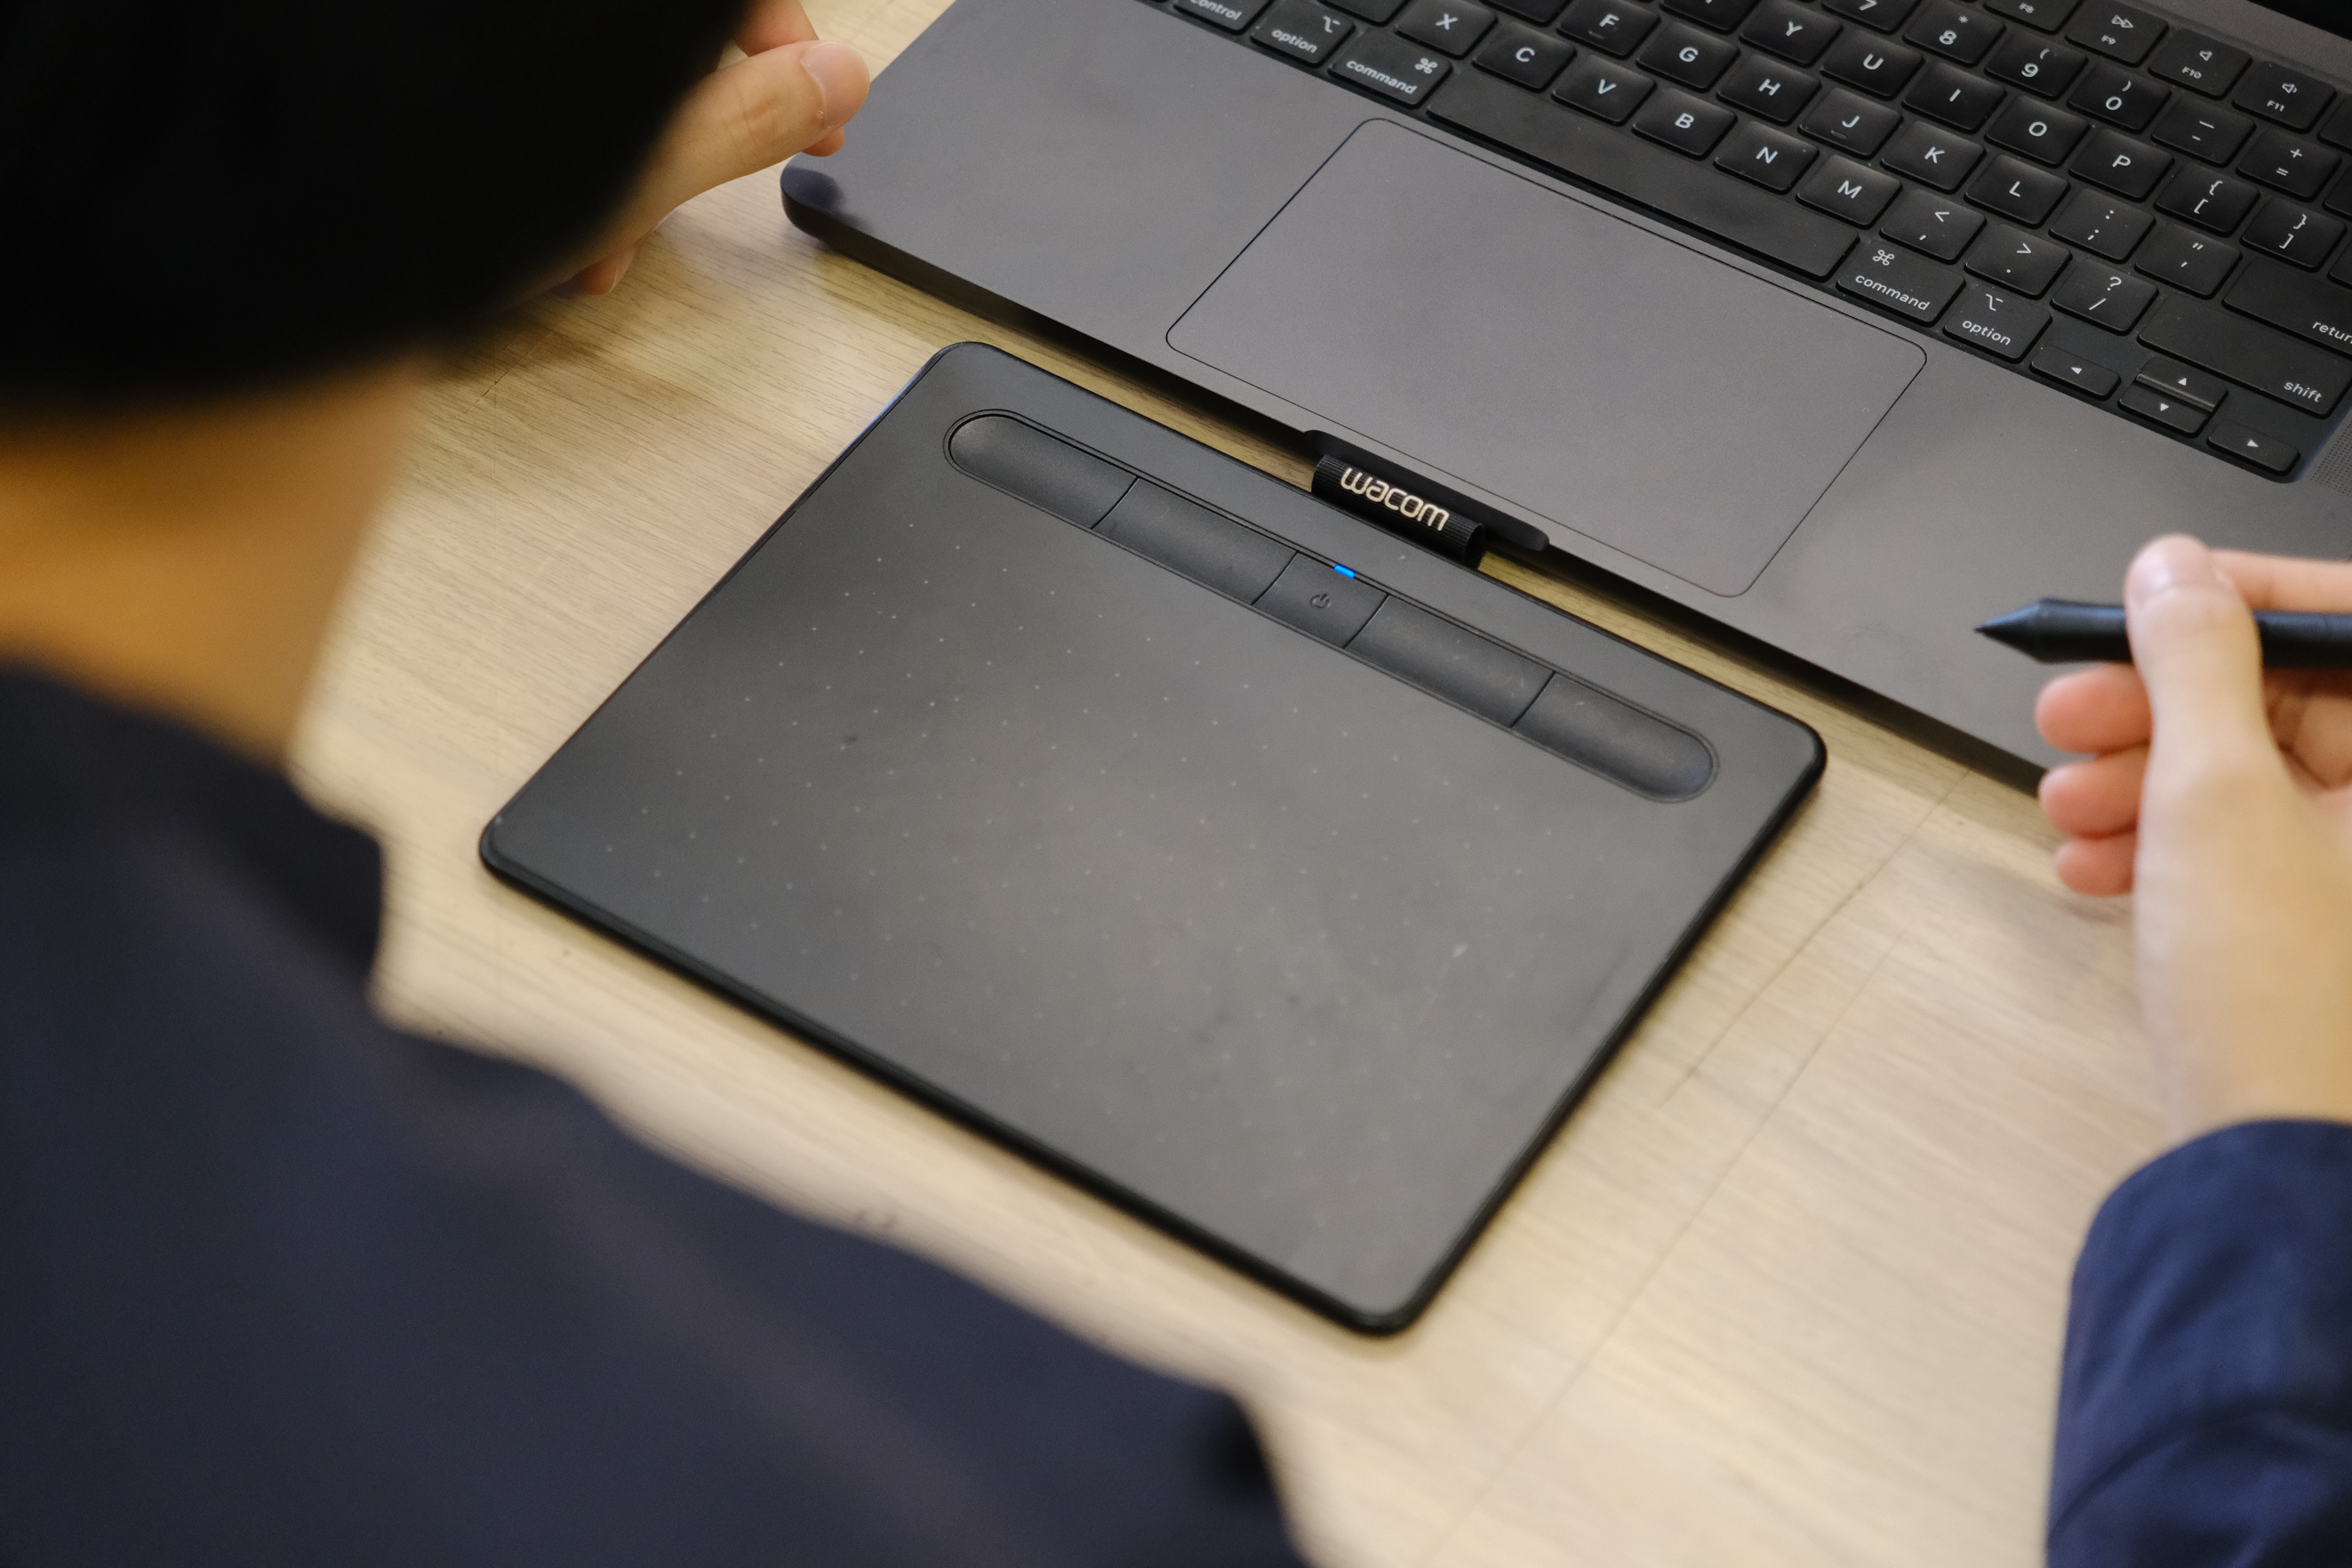
- Explained how to navigate the site on the iPad since most of them had IPad
- Showed where to upload downloaded glyph sets to Google Drive
- Prompted participants to design a poster using their newly generated glyph system
[ Conducting workshop ]
From explanation to activity
The project becoming active through participants
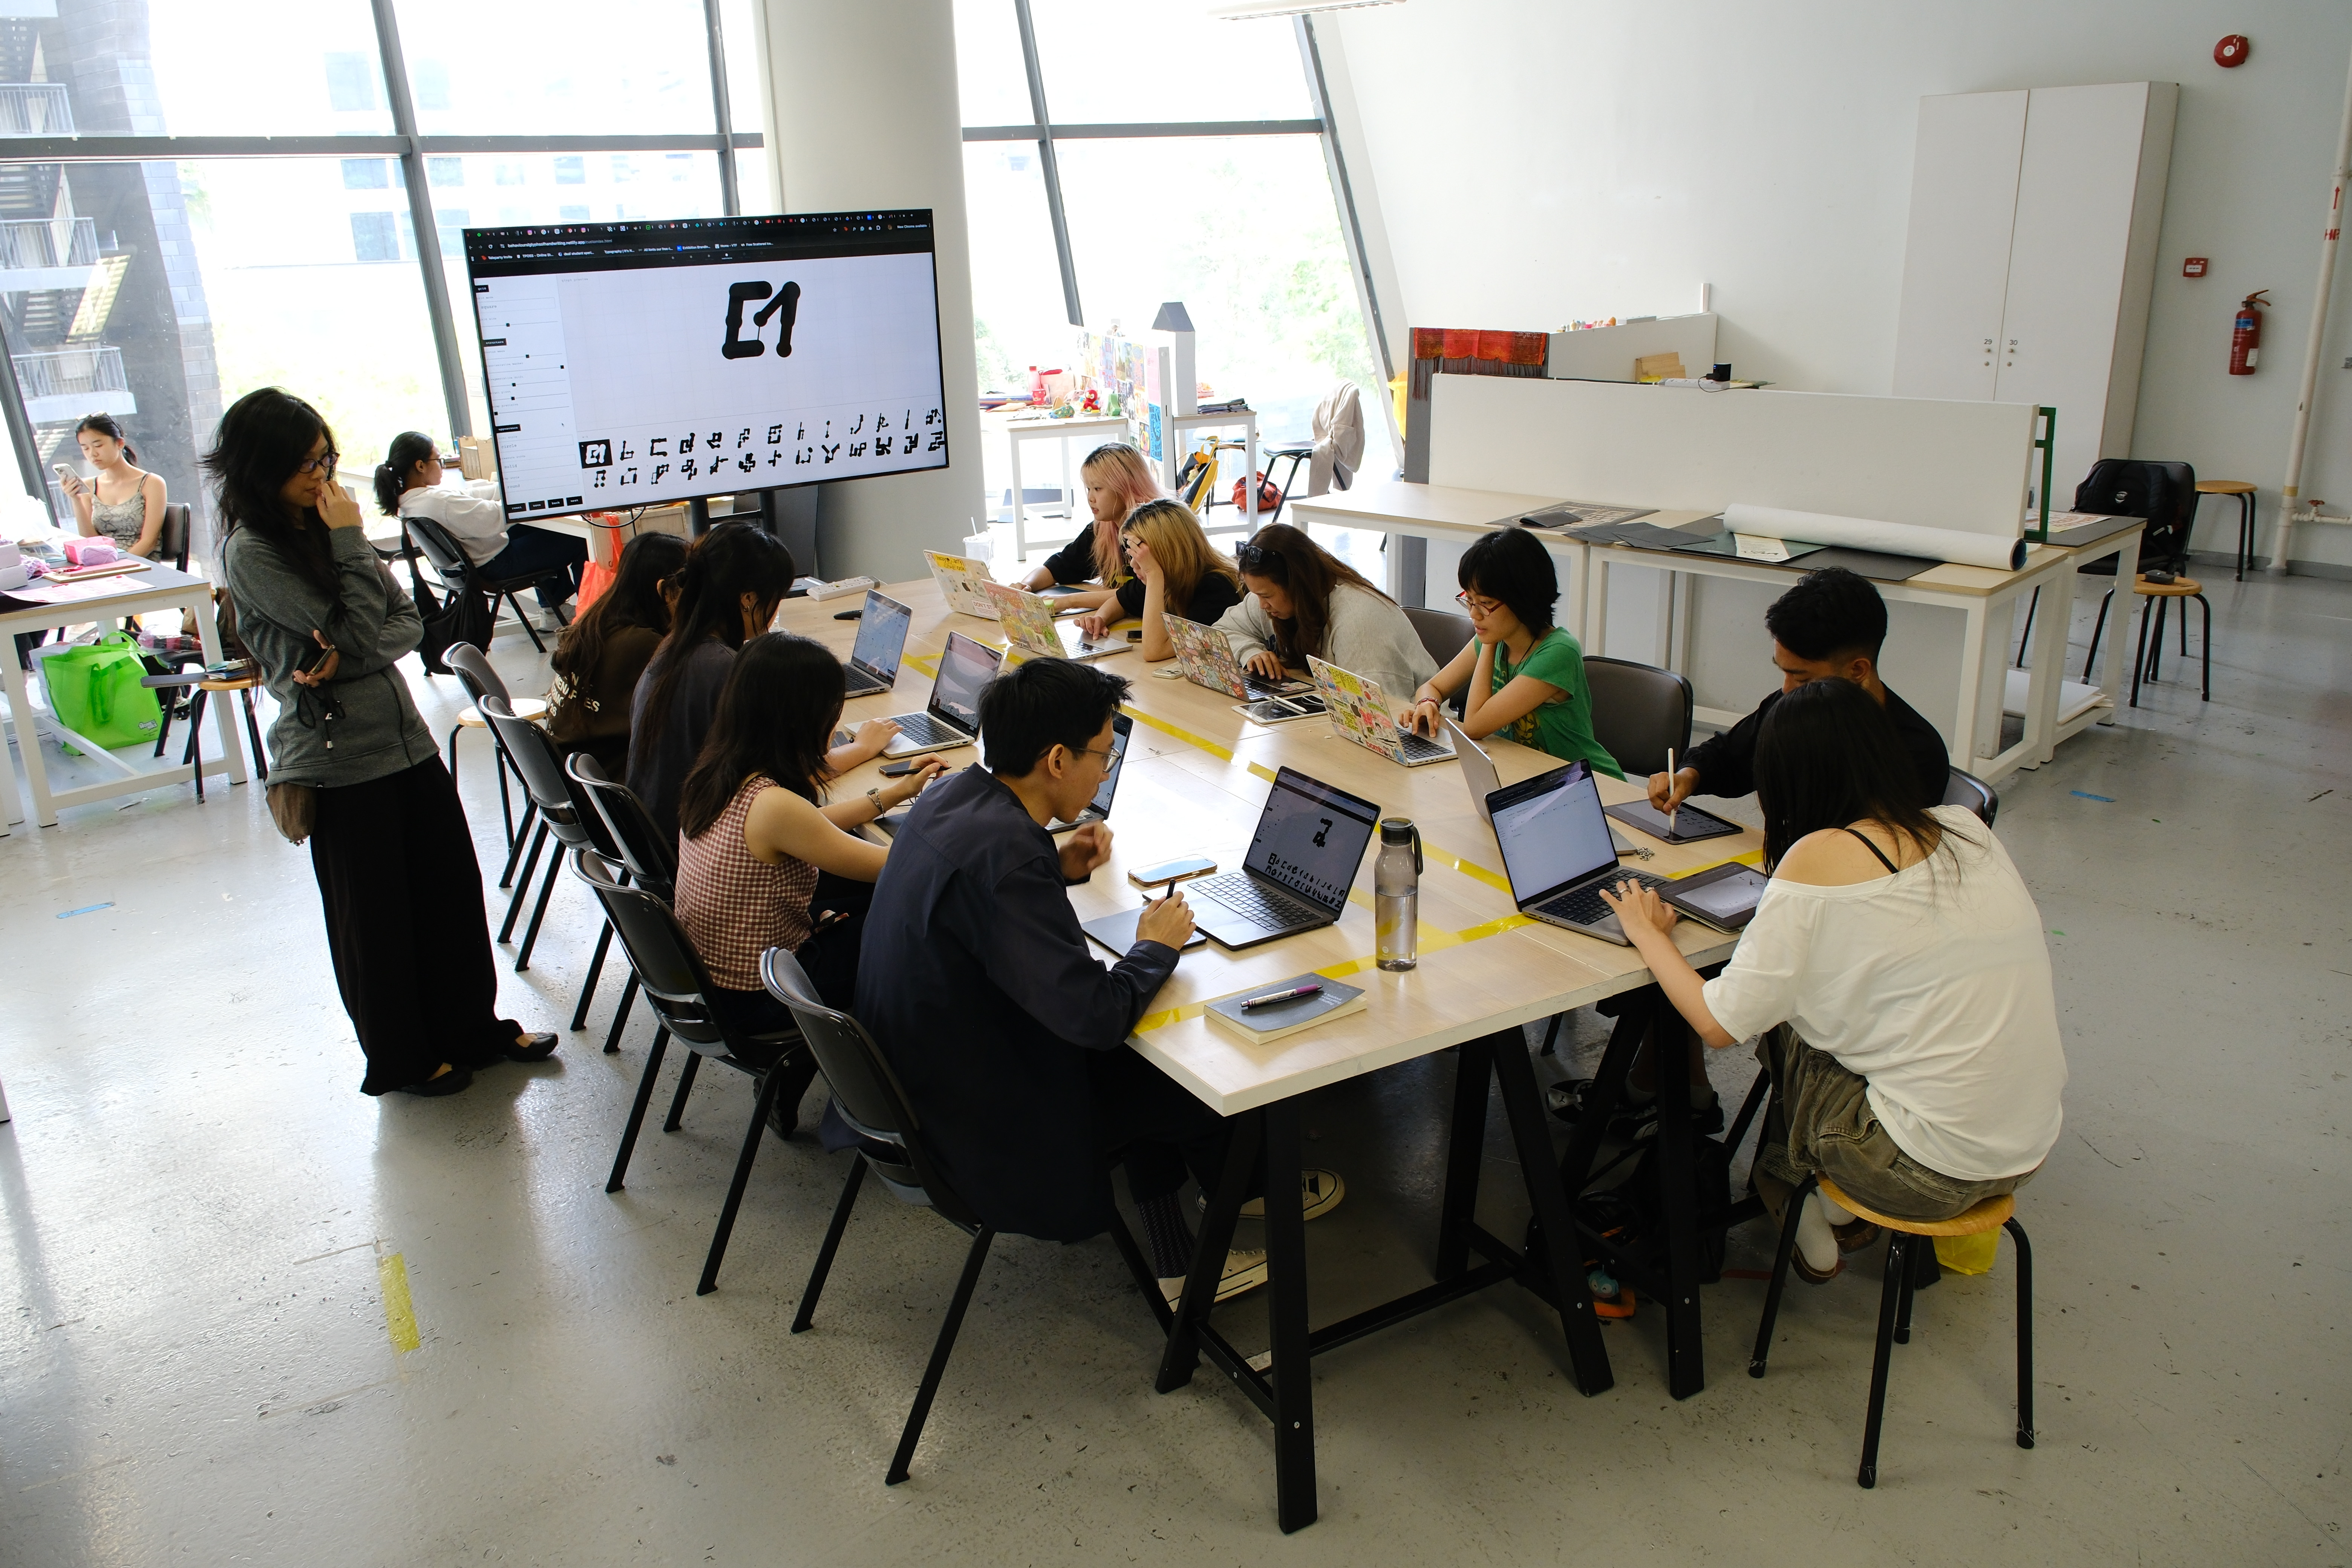
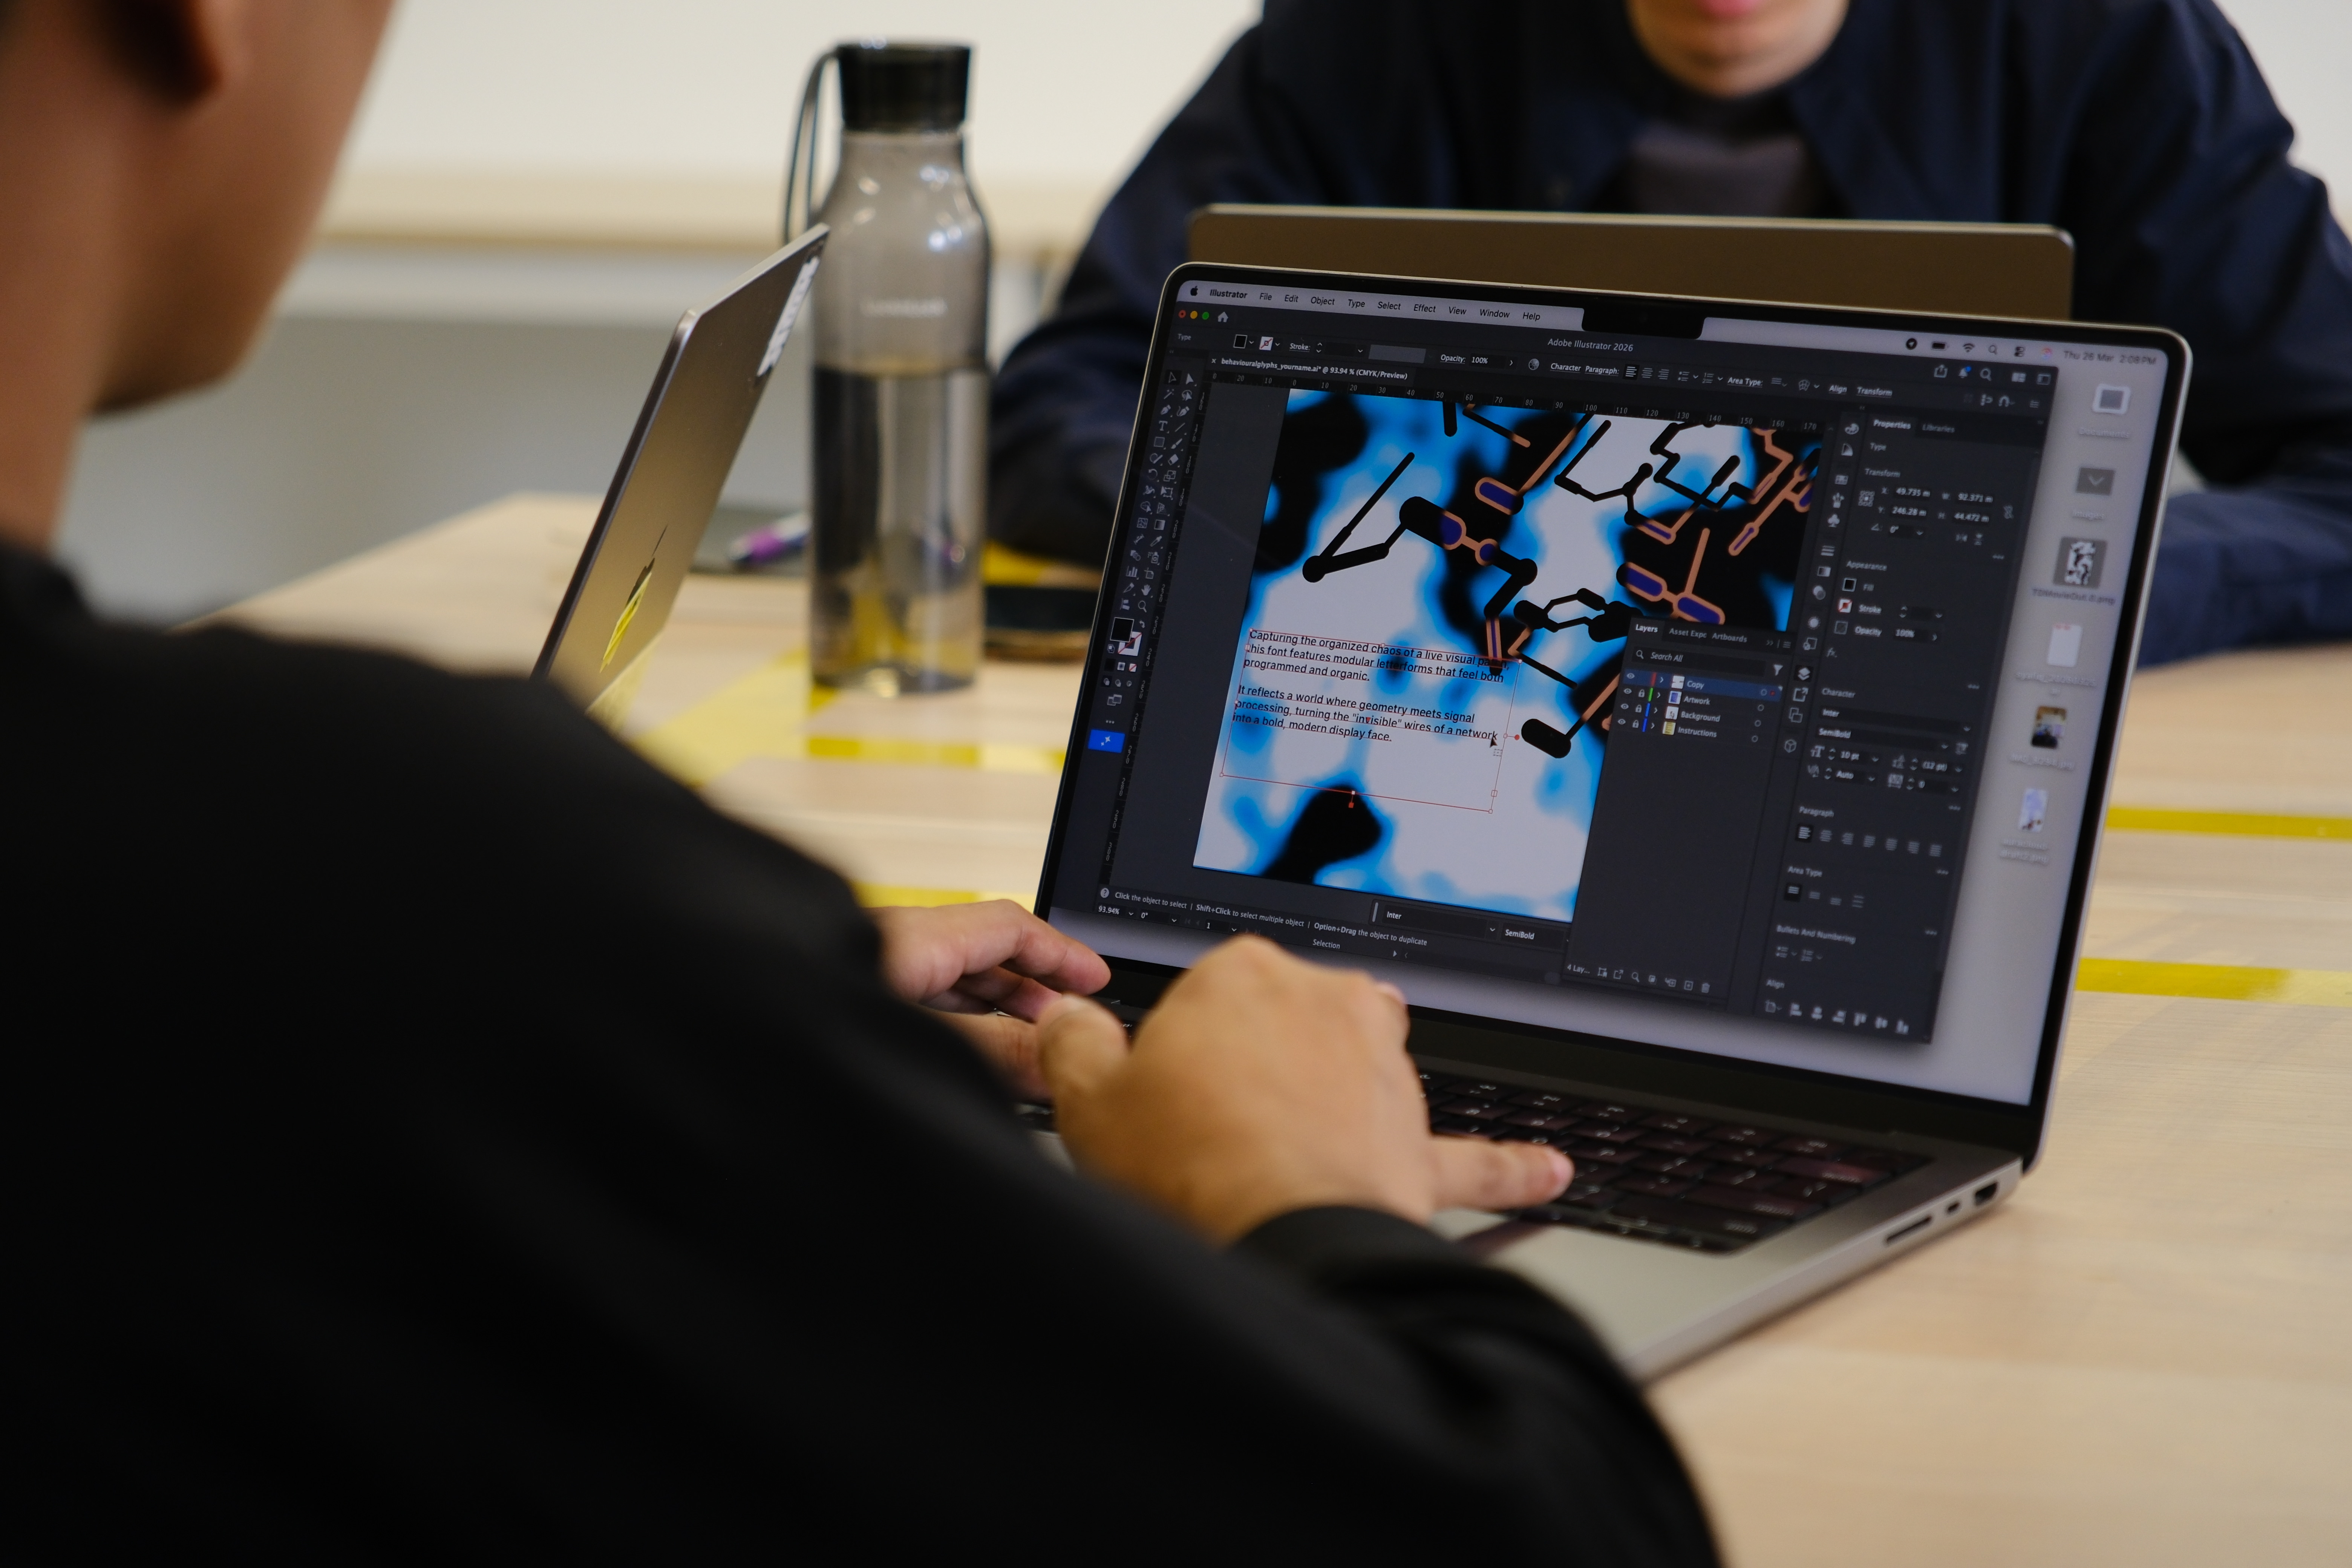
The workshop was where the project moved beyond explanation and became active. Participants used the tool to generate their own behavioural glyph systems, downloaded those outputs, and then applied them to poster-making.
What mattered here was not only the final posters, but the way people engaged with the system while using it. They were drawing, waiting for the outputs, adjusting how to use them, and figuring out how their glyph set could become visual material. That process made the project feel alive in a different way.
It was no longer only my system. It was something other people could enter, test, and interpret for themselves.
[ Poster outcomes ]
Variation in use
The same system producing different compositional outcomes
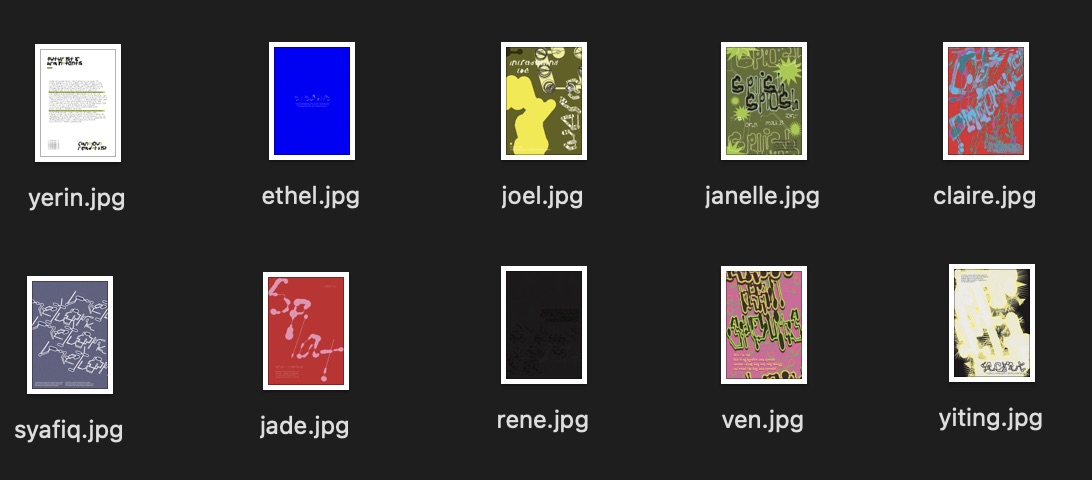
The workshop posters showed that participants did not all use the glyphs in the same way. Some enlarged them and used them as dominant graphic forms. Others repeated them as texture. Some treated them more like supporting decorative structures around text and image.
This was useful because it proved that the system was not producing one fixed visual result. The same behavioural glyph set could be interpreted in different compositional ways. That variation made the workshop outcomes more interesting than if everyone had followed the same design path.
Another thing I noticed was that participants wanted more time. I had tried to keep the session under an hour, but many wanted to continue adjusting and refining. That was encouraging because it suggested that the tool could hold attention beyond a quick demonstration. It also showed that the poster output gave the system purpose. The process did not end at generation. It moved into composition.
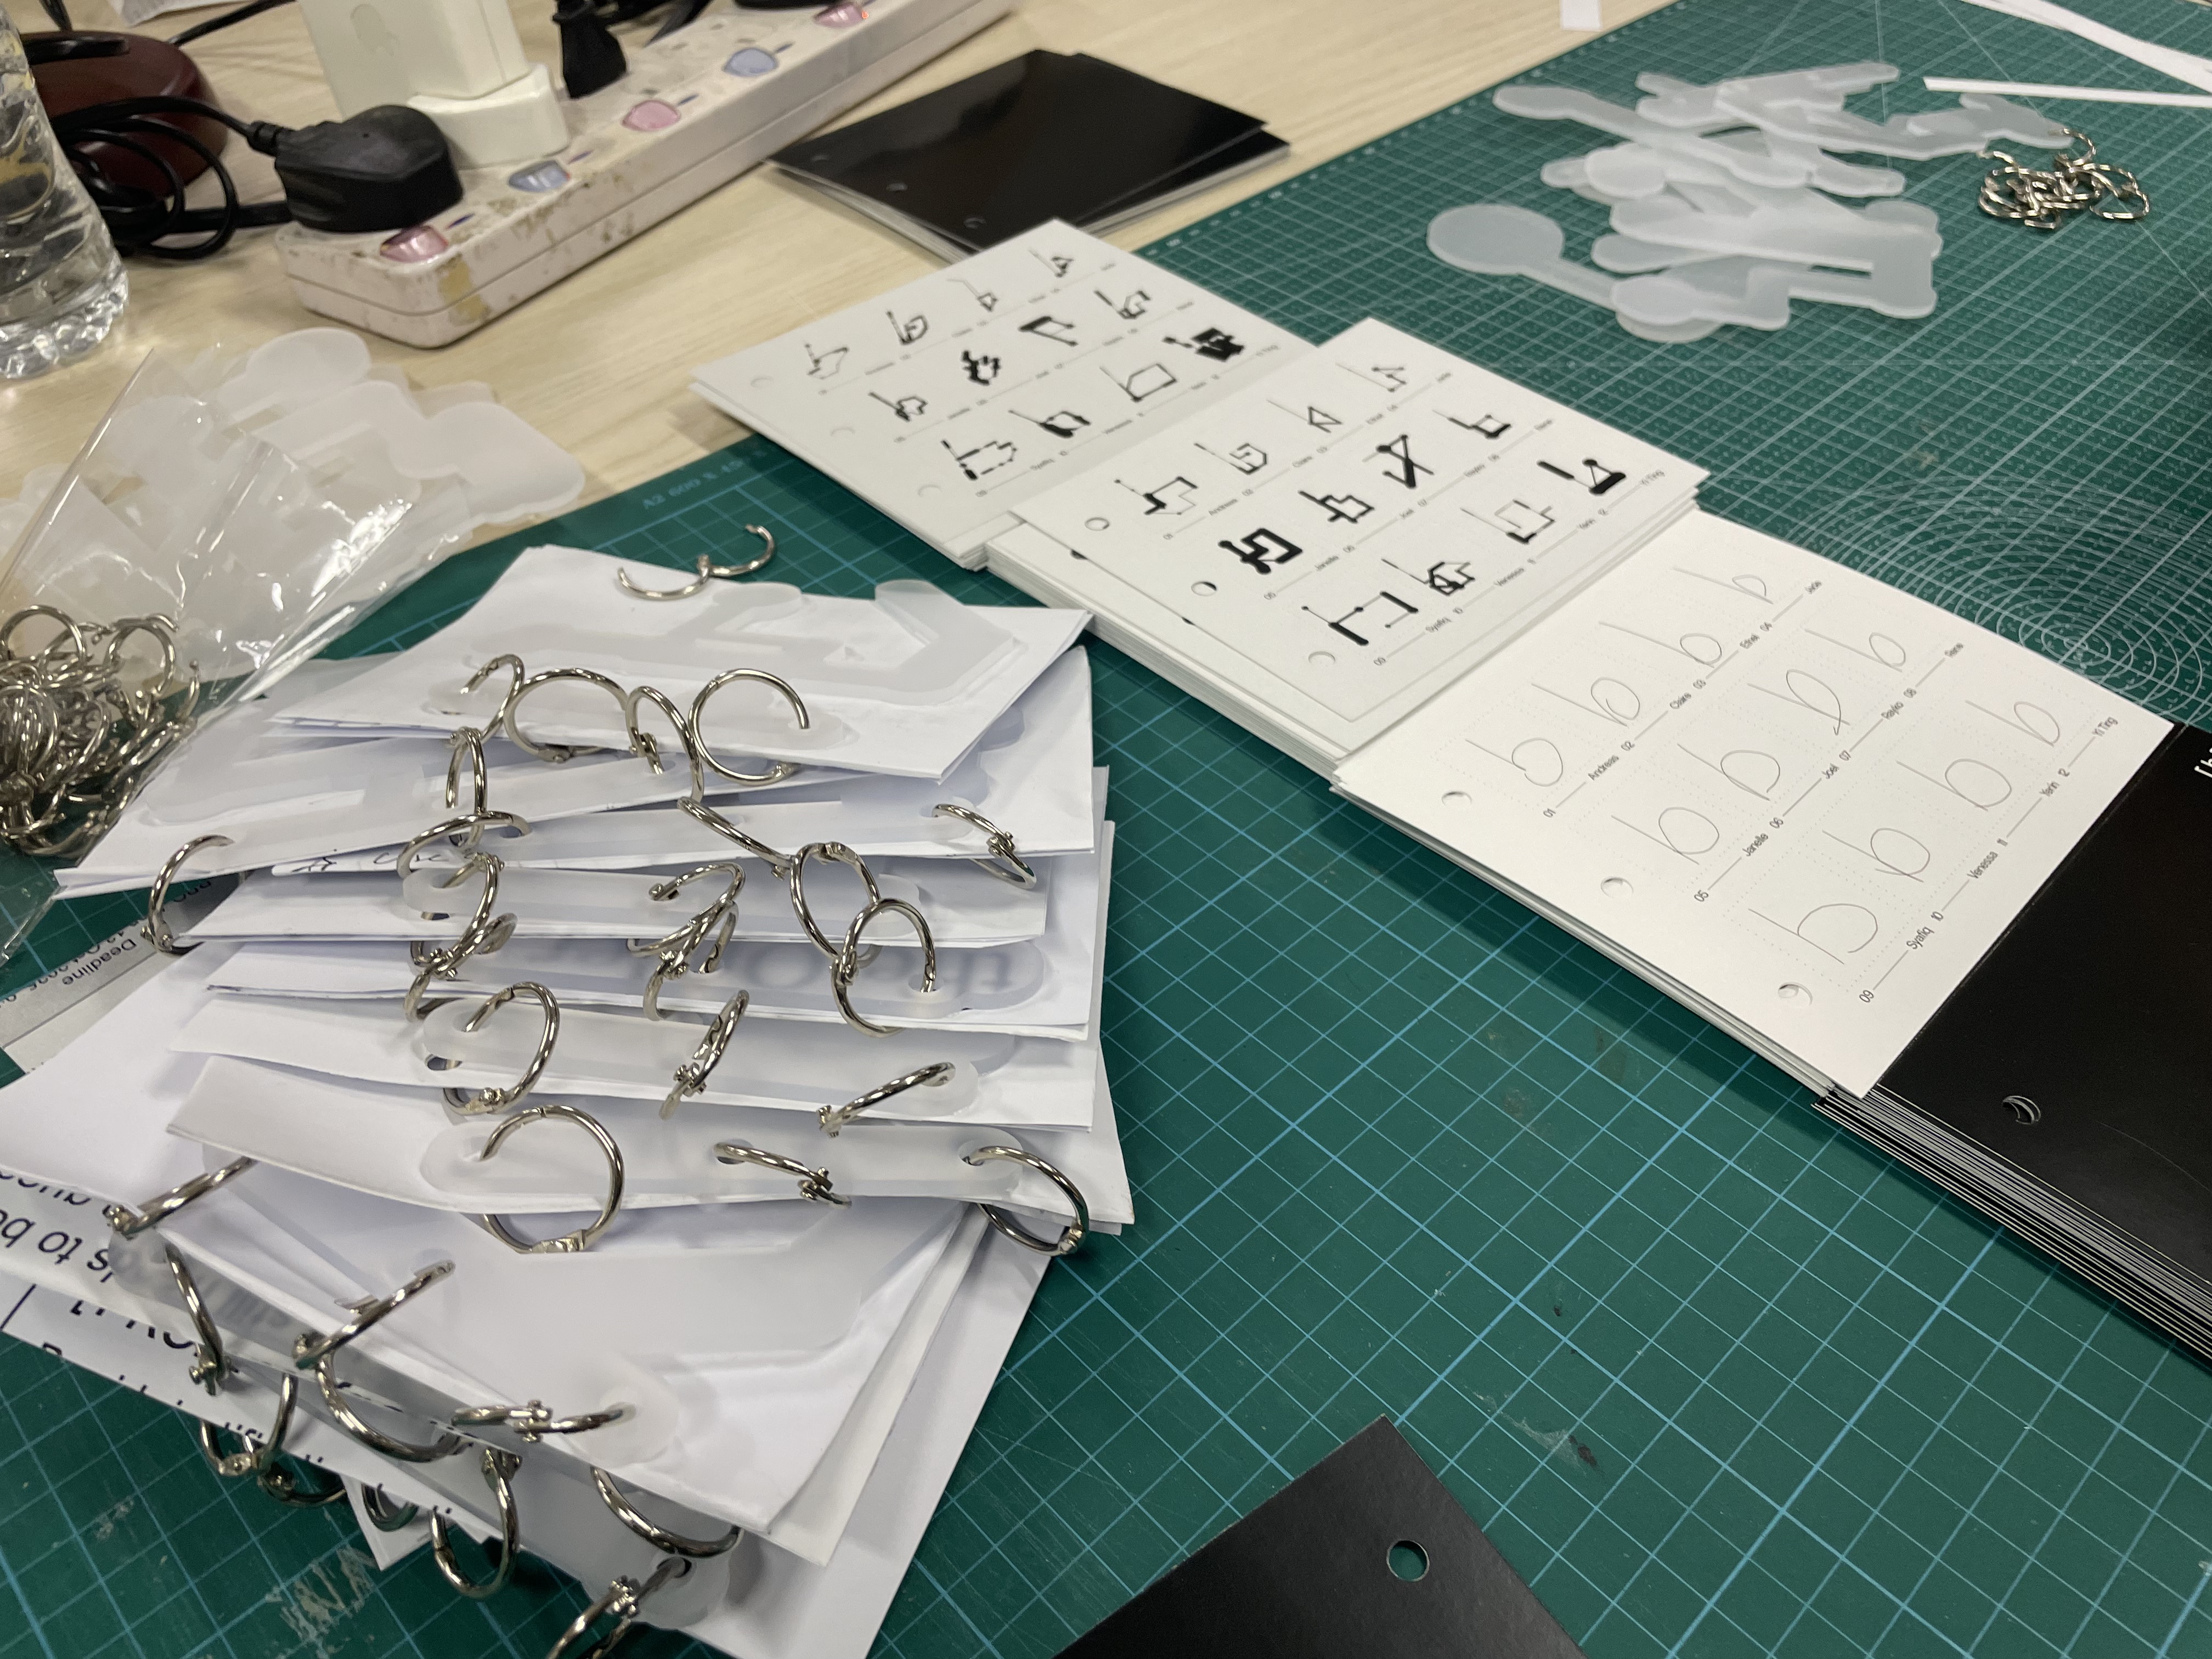
[ Lasercut alphabet glyph cover ]
Material presence
Giving the zines a clearer physical identity
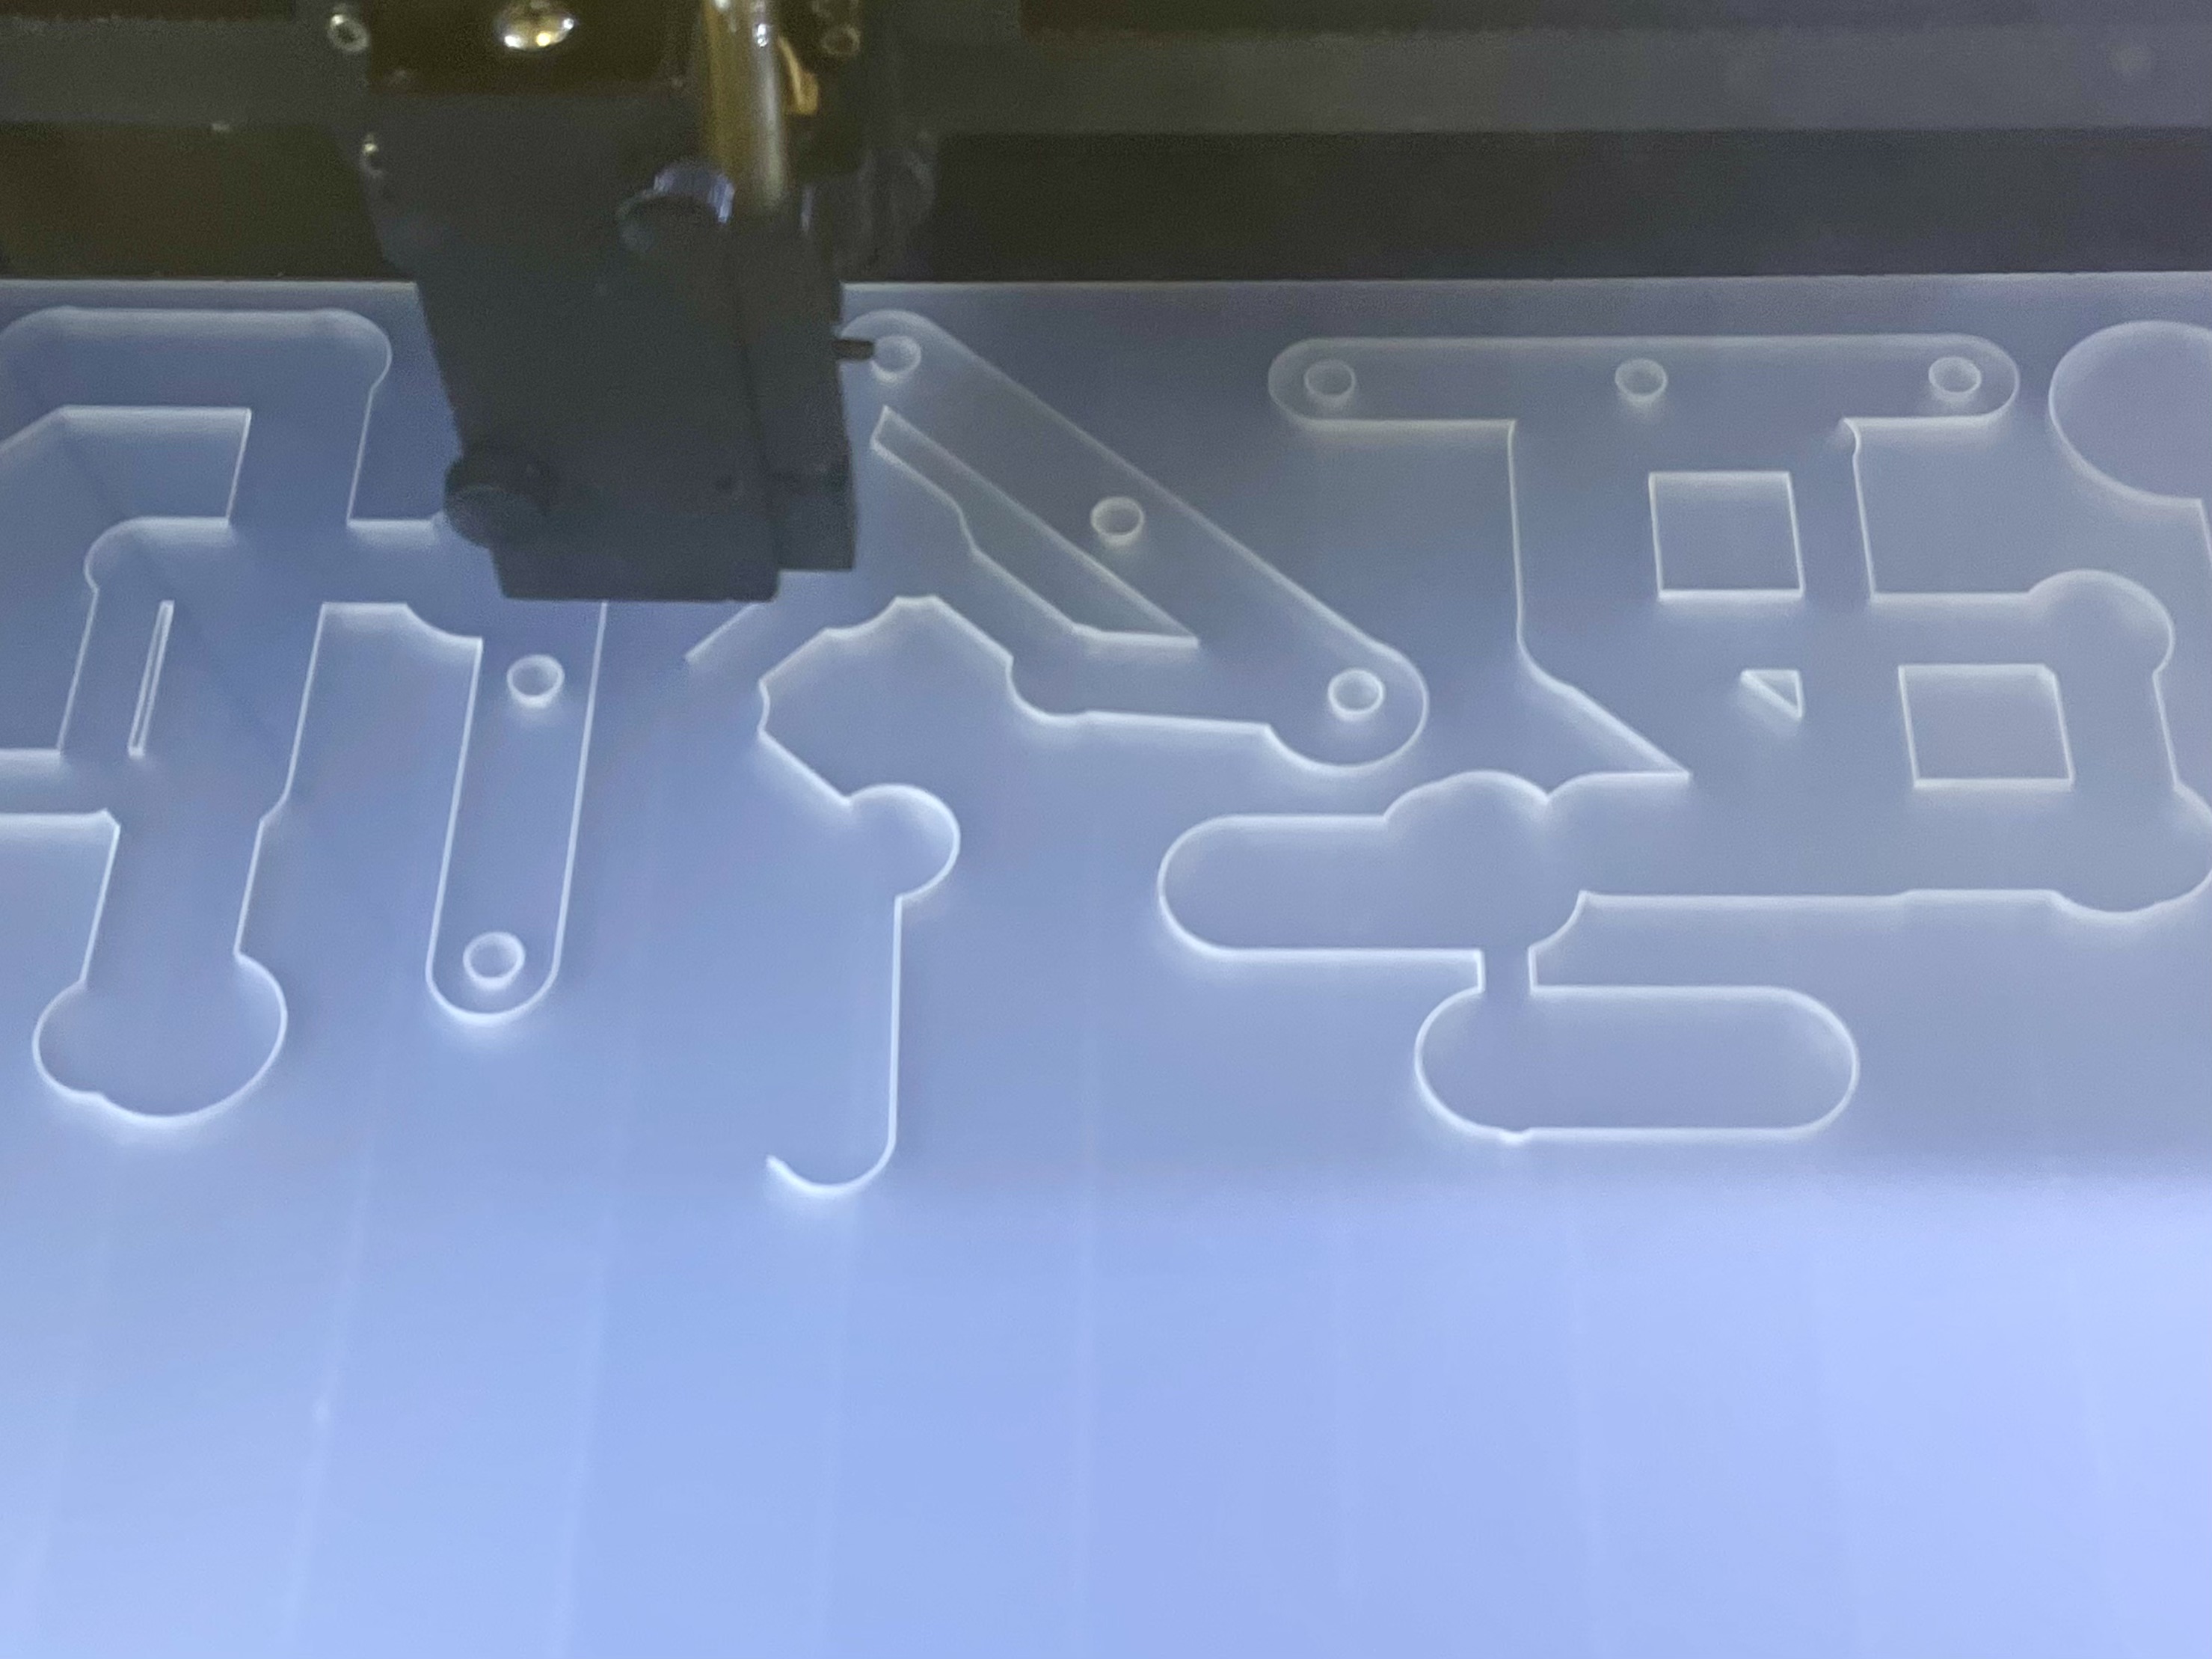
I laser cut the alphabet glyph cover as part of preparing the physical booklet set. This gave the zines a clearer material presence and helped distinguish them from ordinary printed pages.
The lasercut cover also helped connect the digital glyph system back to fabrication. It was not only packaging. It was another way of giving the alphabet set a more deliberate physical form. Jared also helped with the laser cutting during the workshop period, so this part of production became collaborative rather than solitary.
[ Producing my alphabet zines ]
Documenting translation across the alphabet
Original stroke, behavioural reconstruction, final customised glyph
The alphabet zines were structured around three stages of each letter:
- Original stroke
- Behavioural reconstruction
- Final customised glyph
This mattered because the zine was not only meant to show final results. It was meant to document the translation process across the alphabet. Instead of exporting one image per letter, I had to prepare multiple outputs and keep them consistent.
On the coding side, this meant storing different states of the same input, rendering them separately, and preparing them as image sets that could be printed clearly. This allowed the website to function not only as an interactive tool, but also as a system that could generate documentation-ready outputs.
The production itself was also labour-heavy. Because I needed to assemble 26 booklets, the making process became repetitive and physical. Ethel helped me piece the pages together, which made the scale of that production much more manageable.
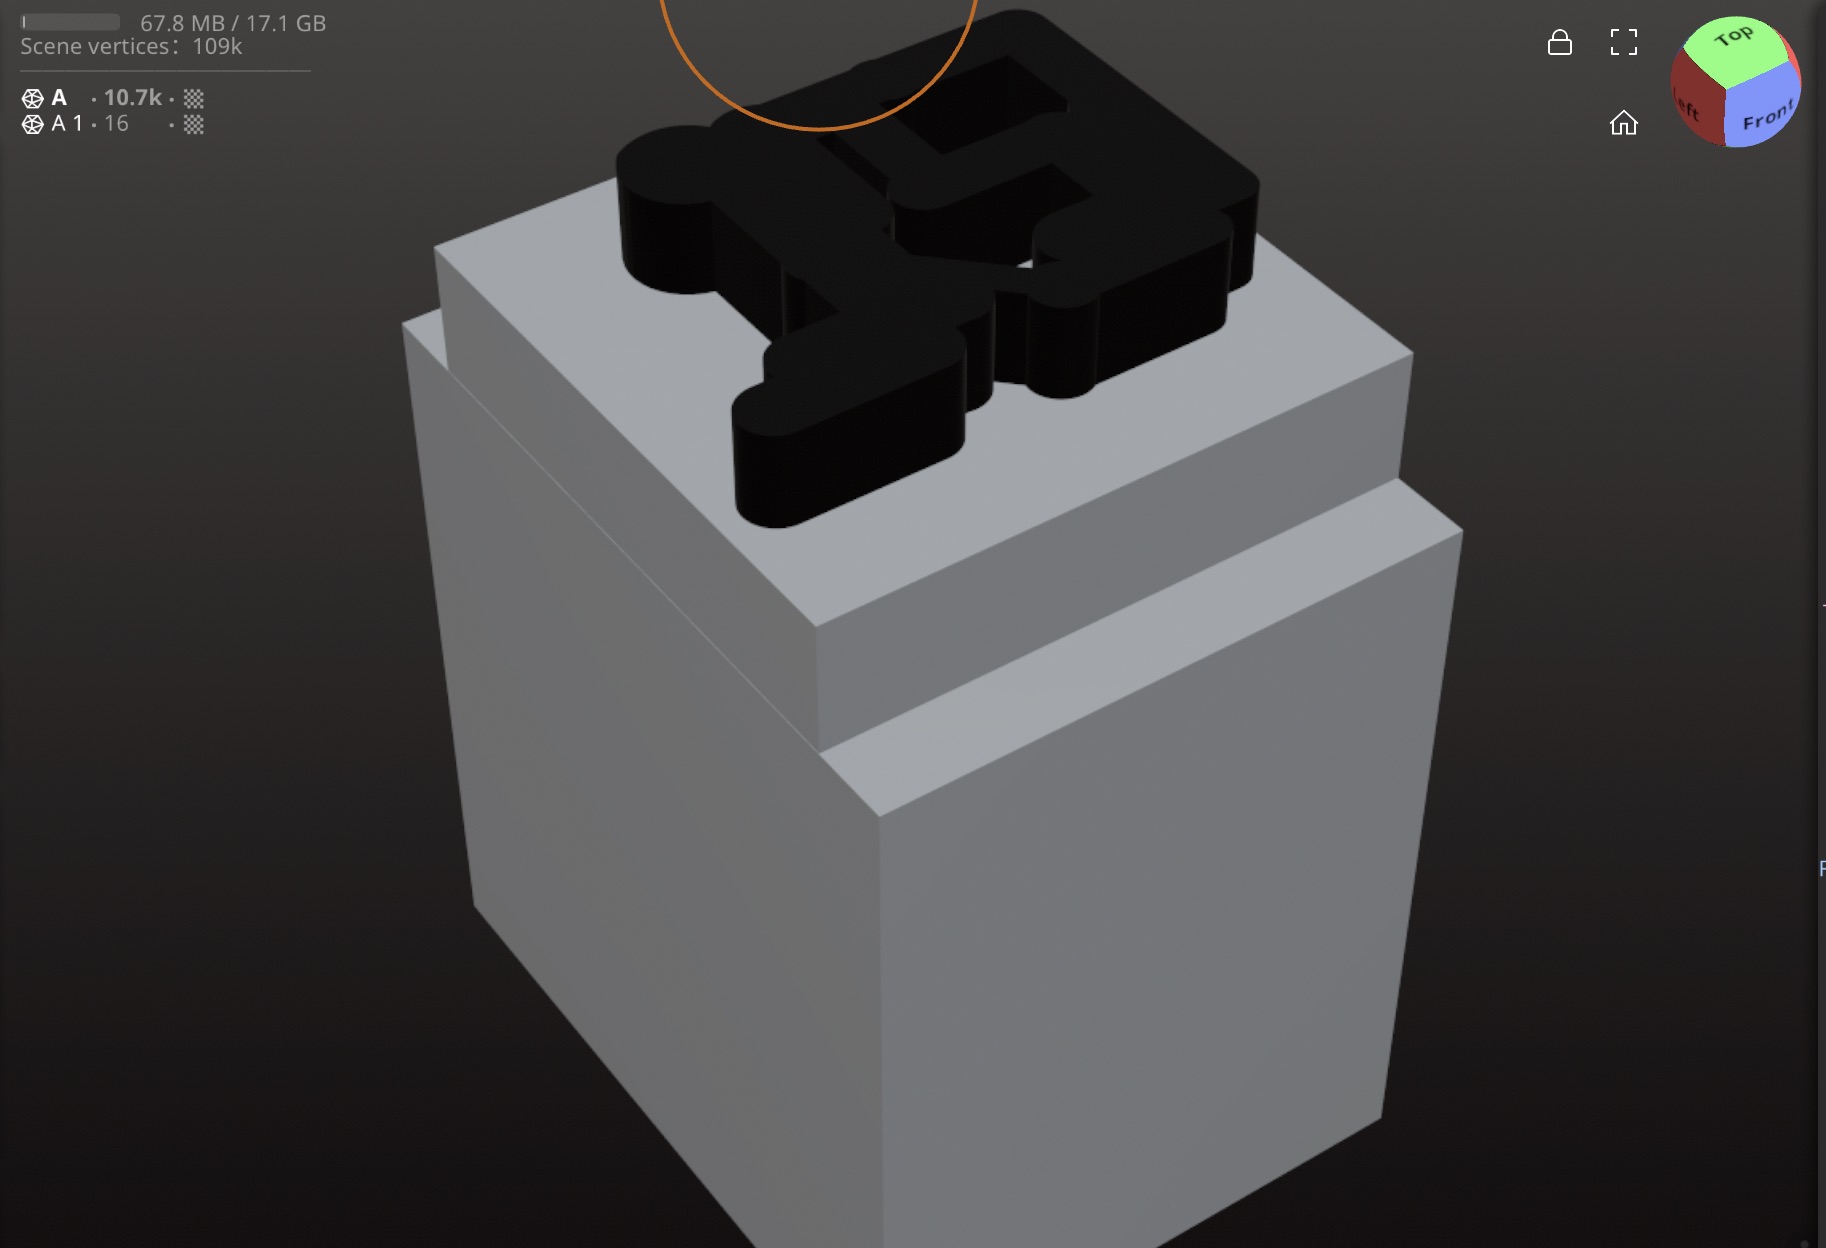
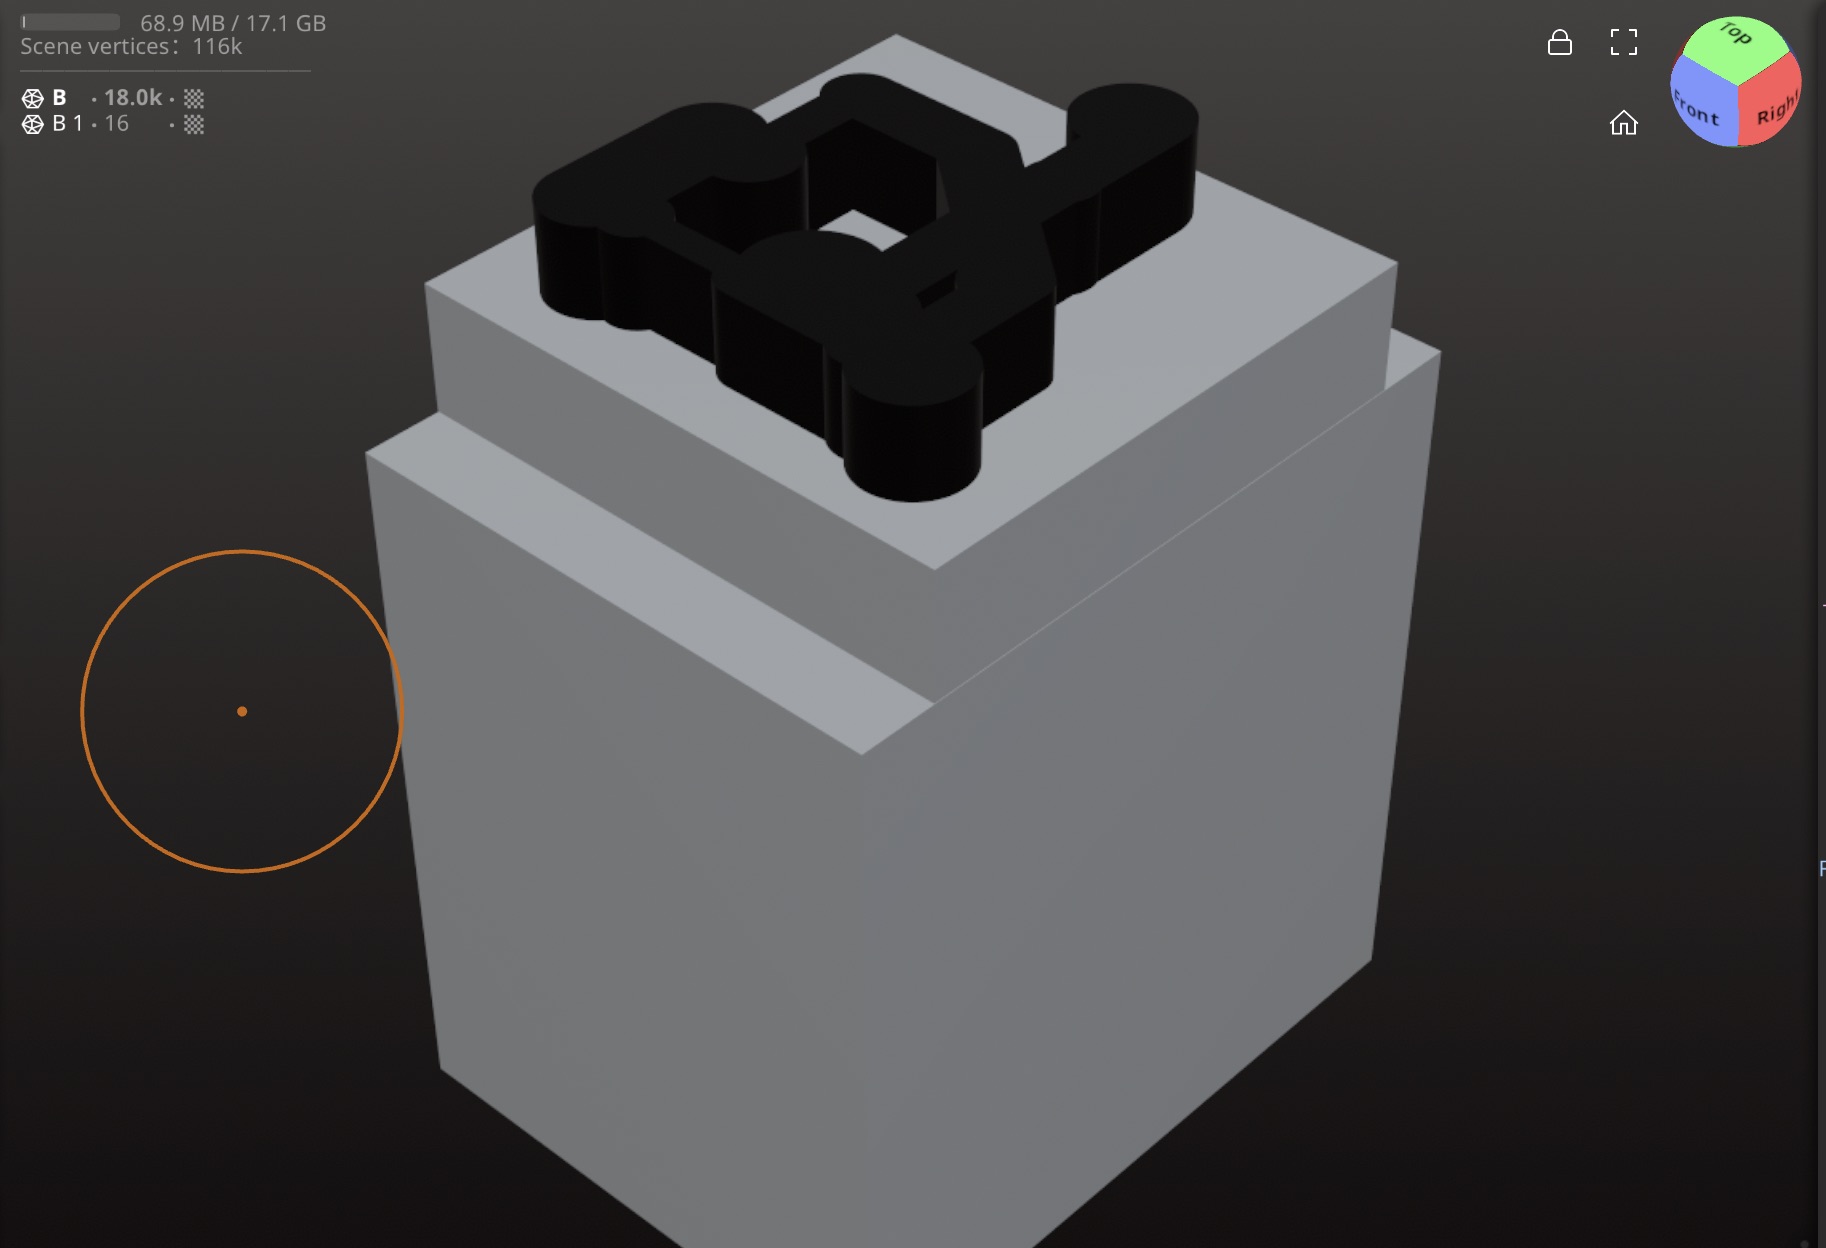
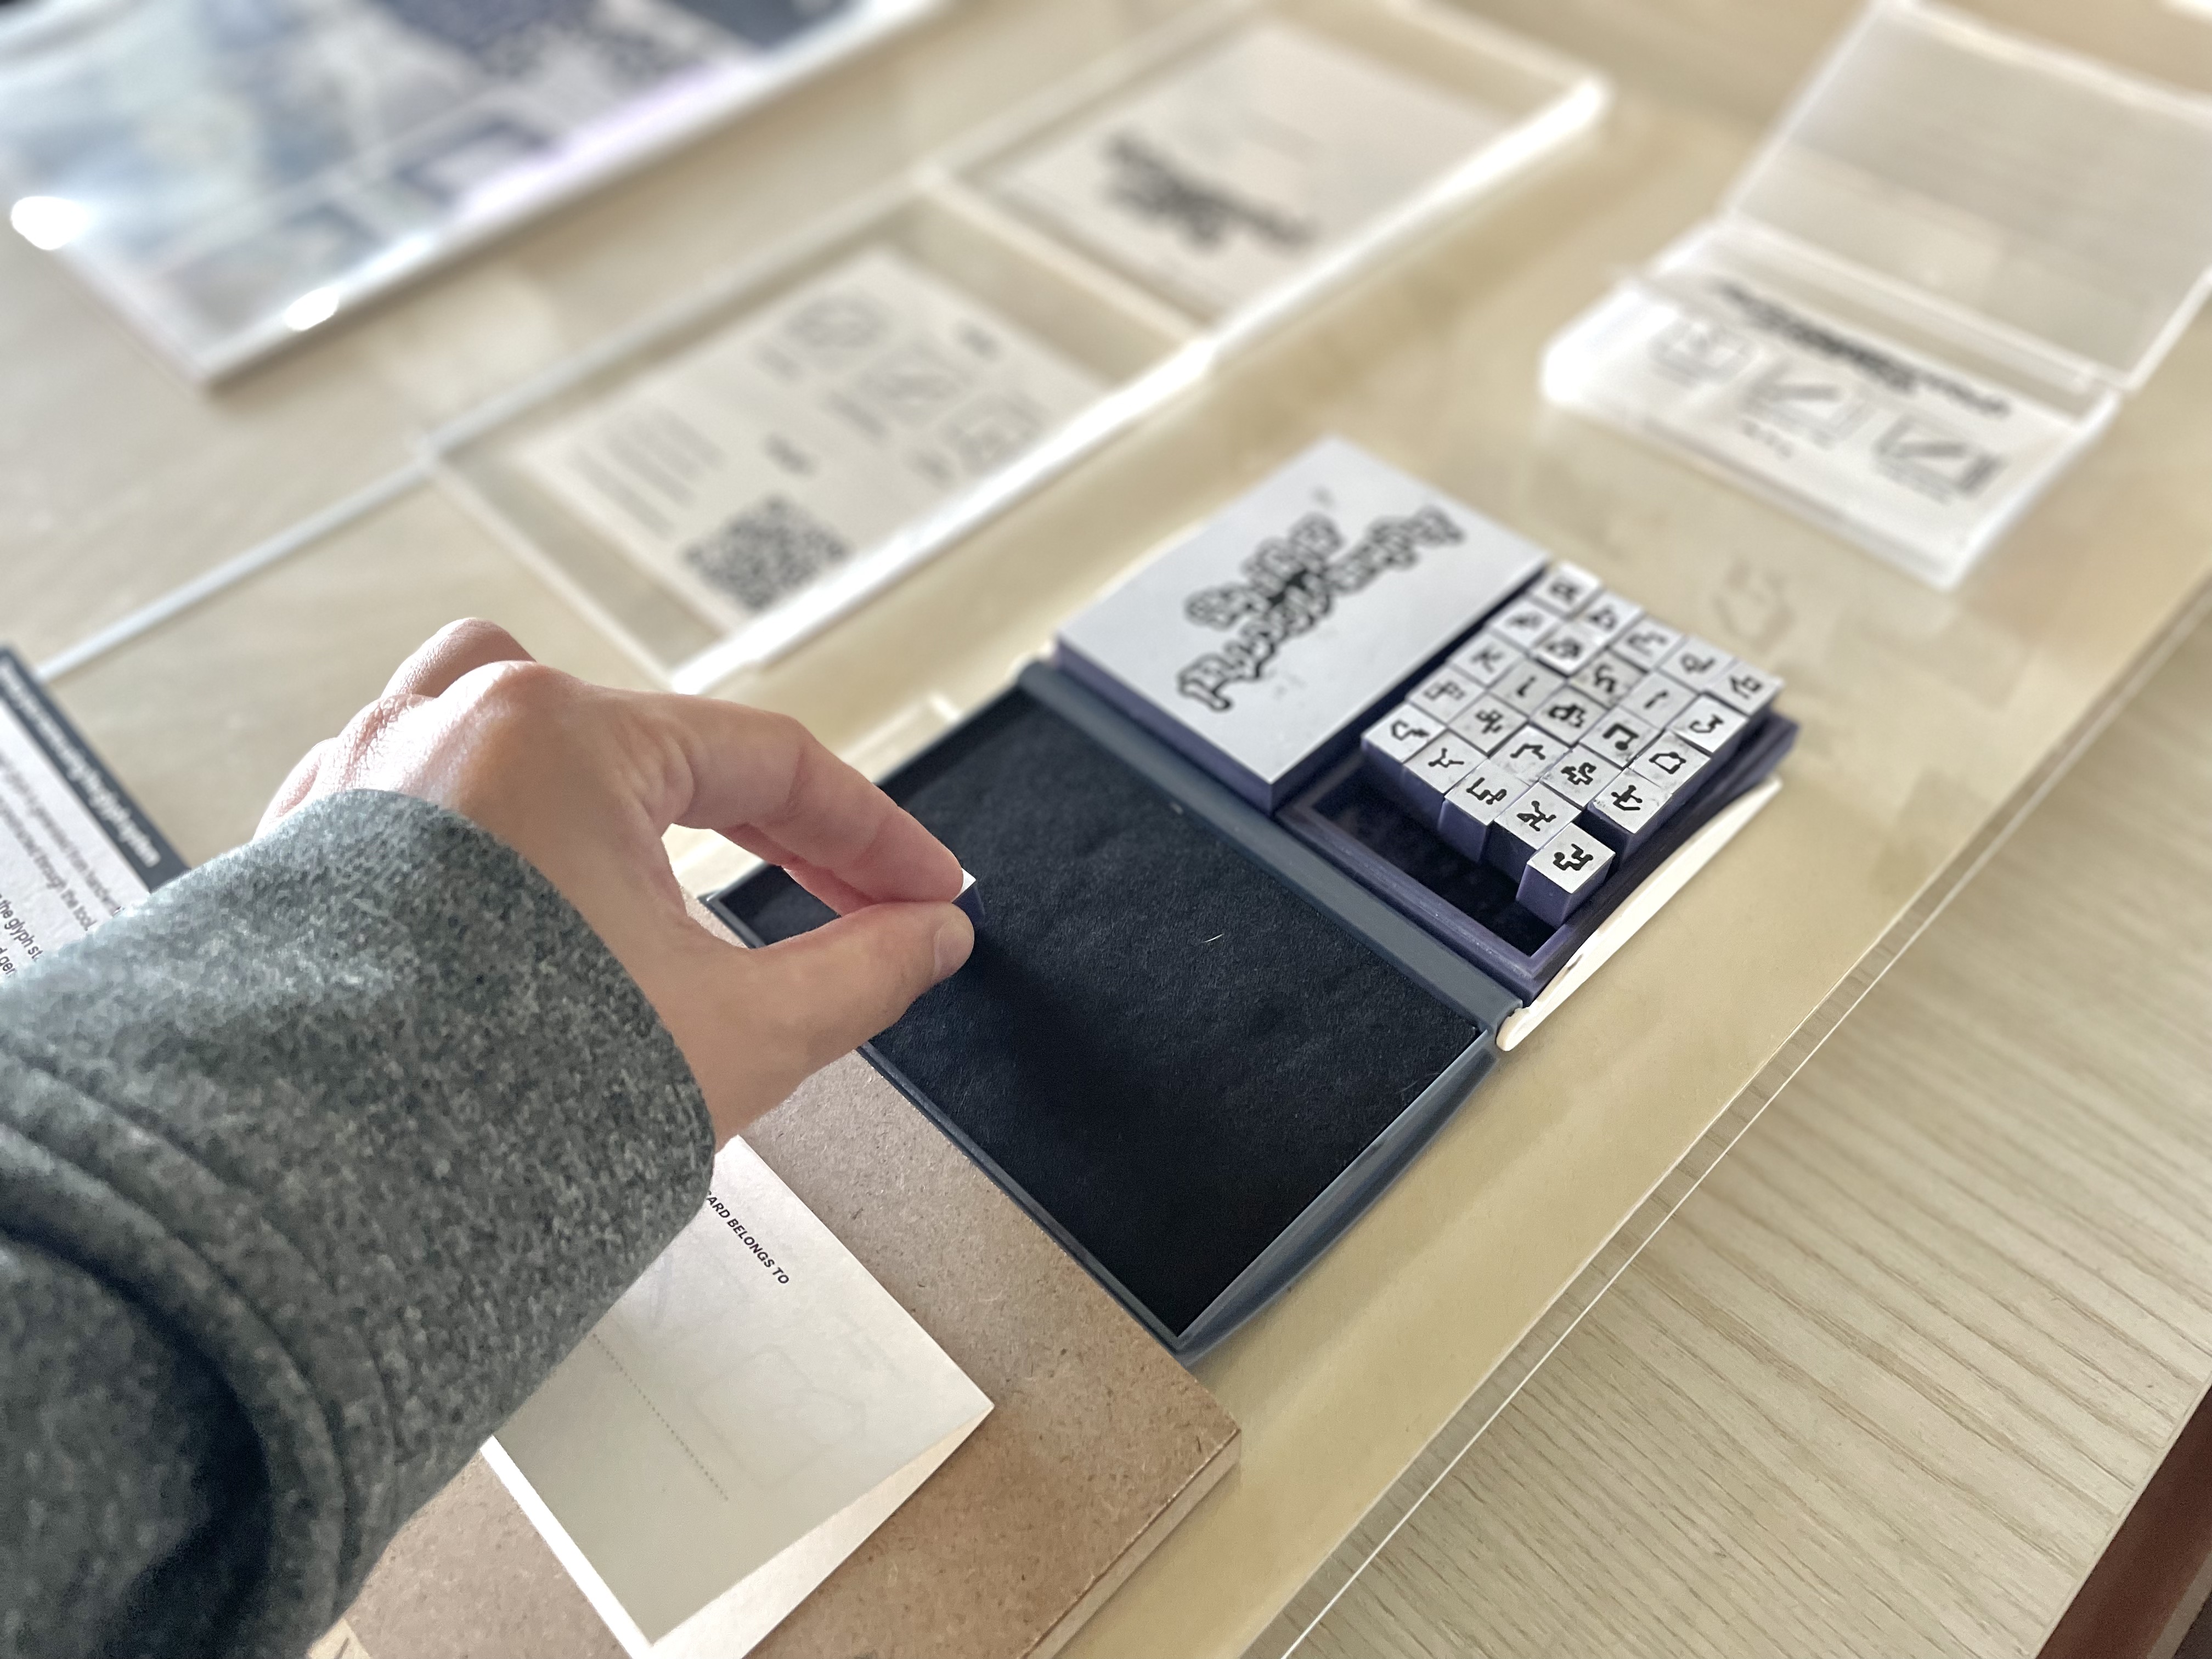
[ 3D printed stamps ]
Preparing Nomad Sculpt files
Translating glyphs into stamp-ready 3D form
I translated the glyphs into stamp-ready 3D forms using Nomad Sculpt, with help from Youcef. In this stage, the glyph had to be considered differently. It could no longer only look right visually. It also had to work as a raised surface that could physically transfer ink. That forced me to think about thickness, depth, and simplification in a more practical way.
[ Testing my stamps ]
From speculative to tested
Confirming that resin-printed stamps could actually transfer ink
Because the stamps were resin printed, I was unsure if they would actually pick up ink. Resin can be quite smooth, and I was worried that the surface would be too slick to transfer a clear mark.
Testing them became necessary, not optional. Once I tried them, I realised they did work. That moment was important because it confirmed that the glyphs could move from a digital and screen-based form into a physical, hand-pressed interaction.
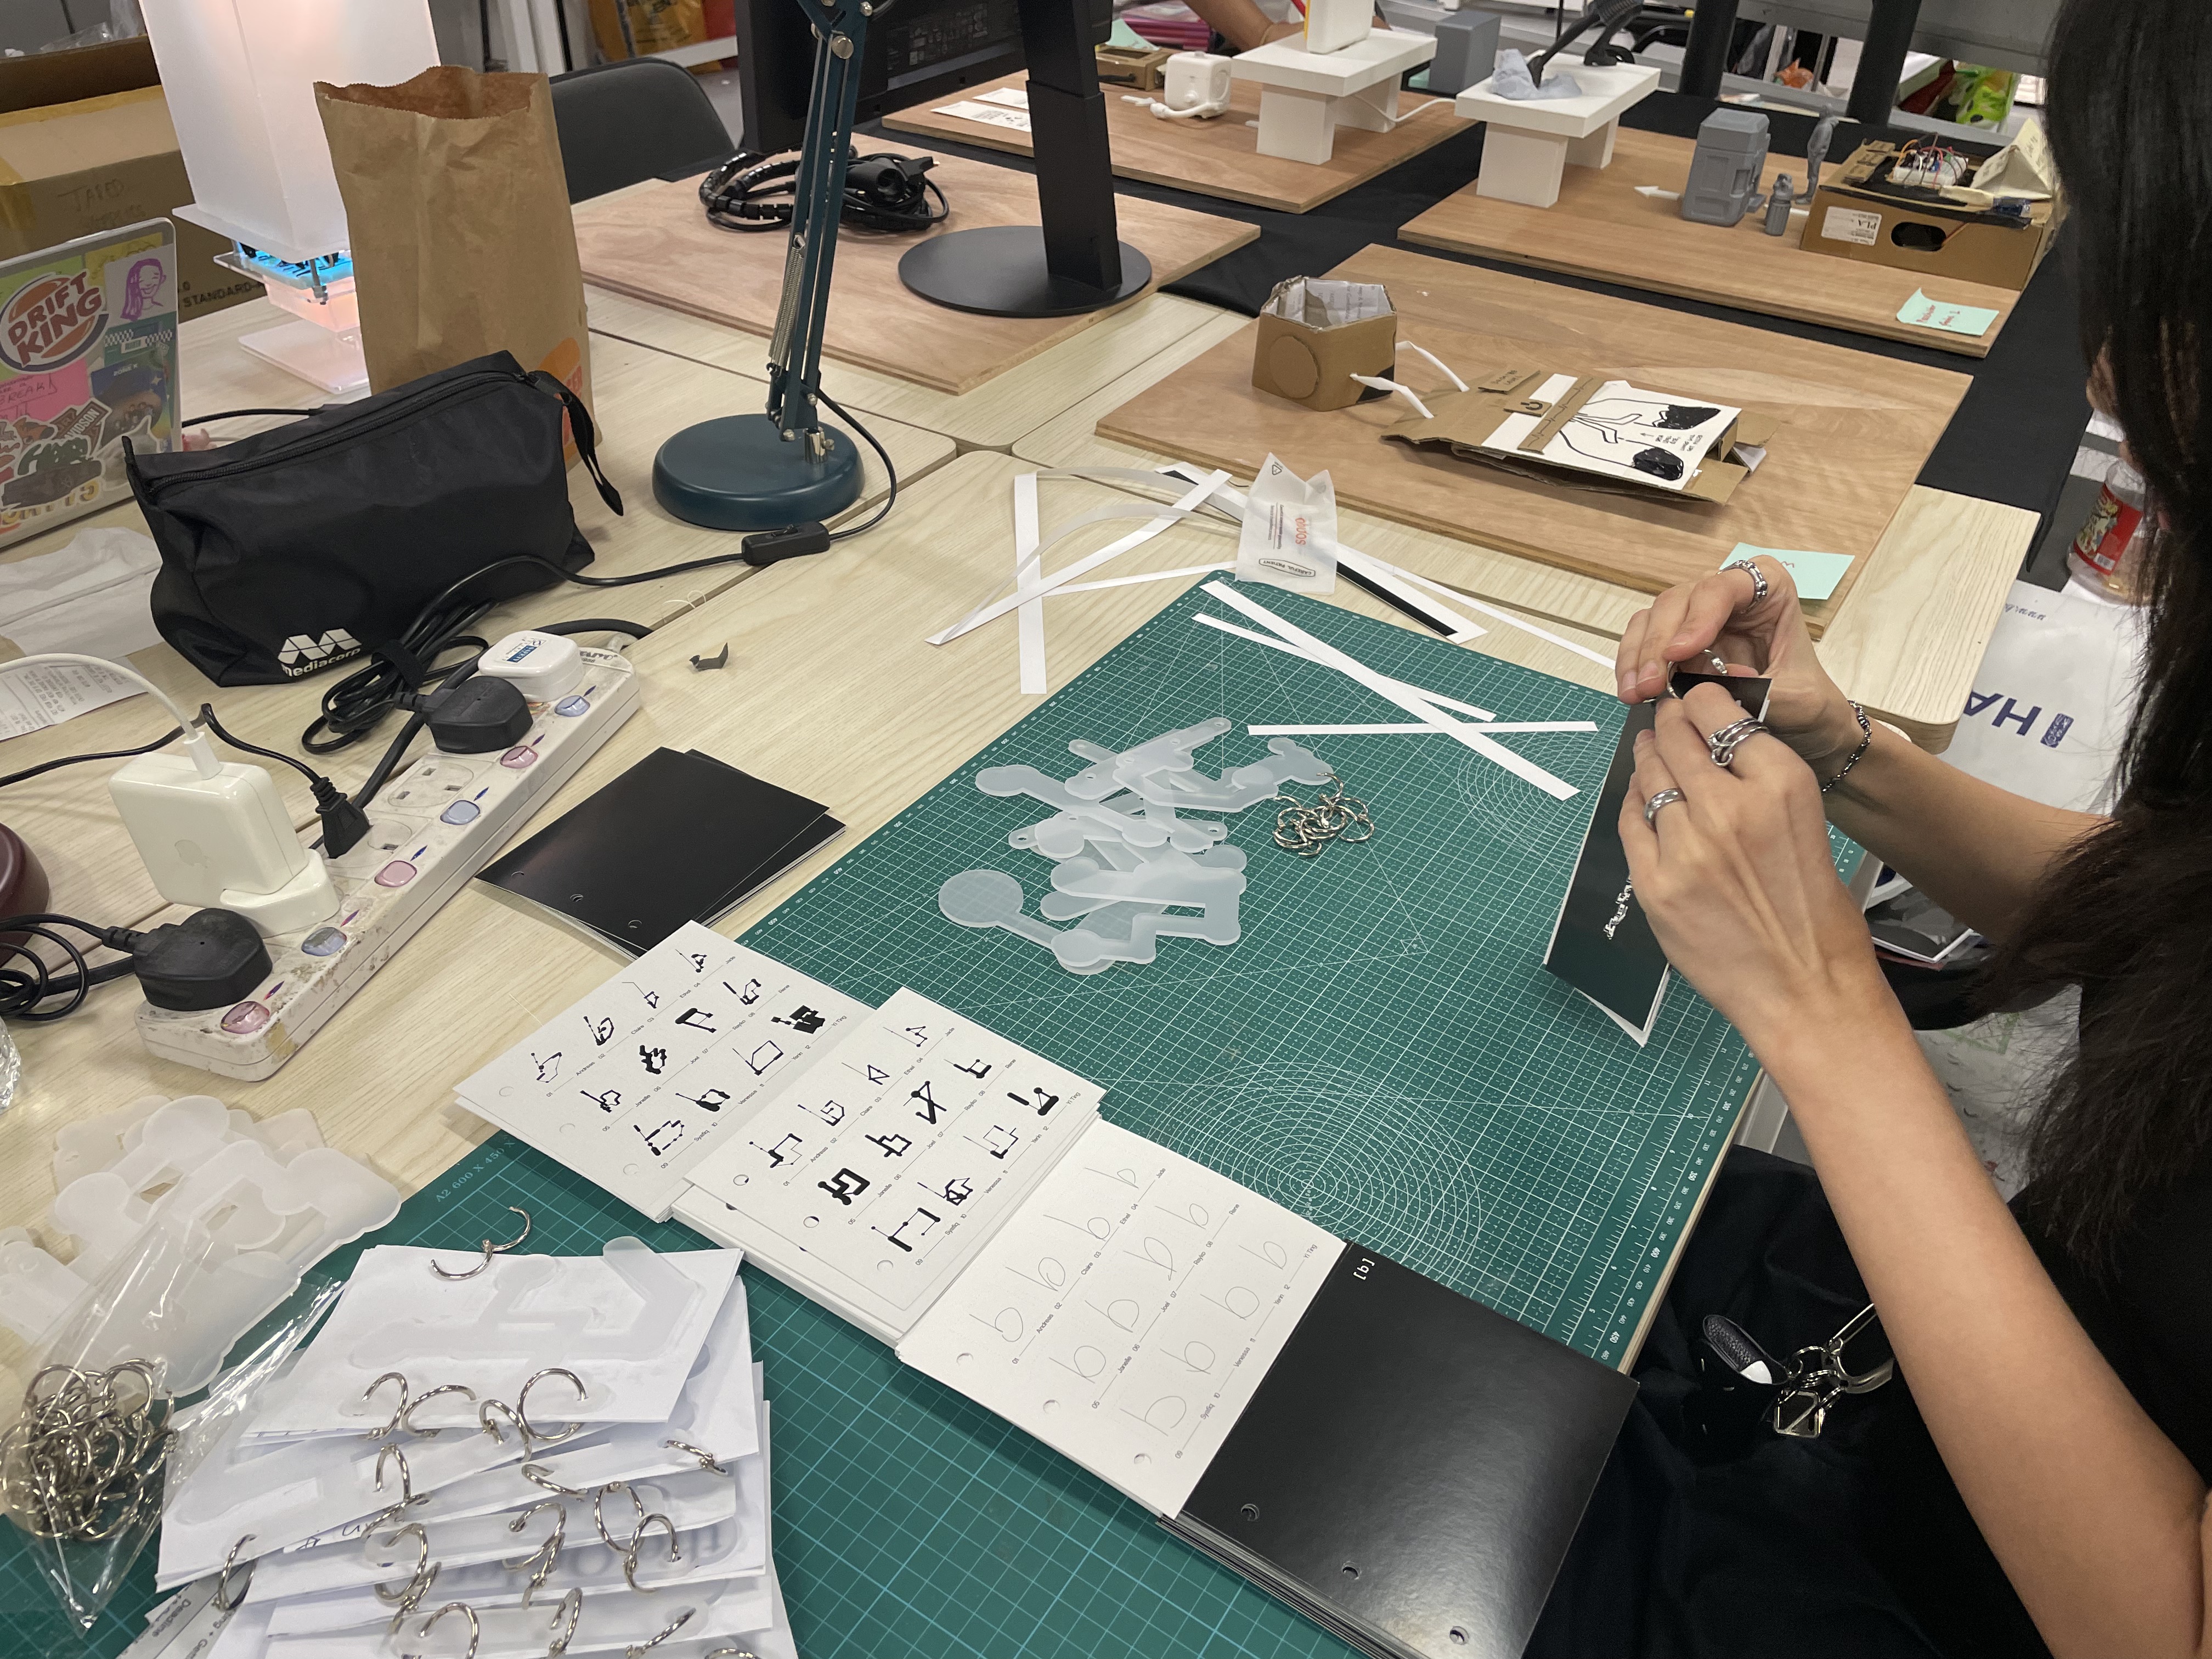
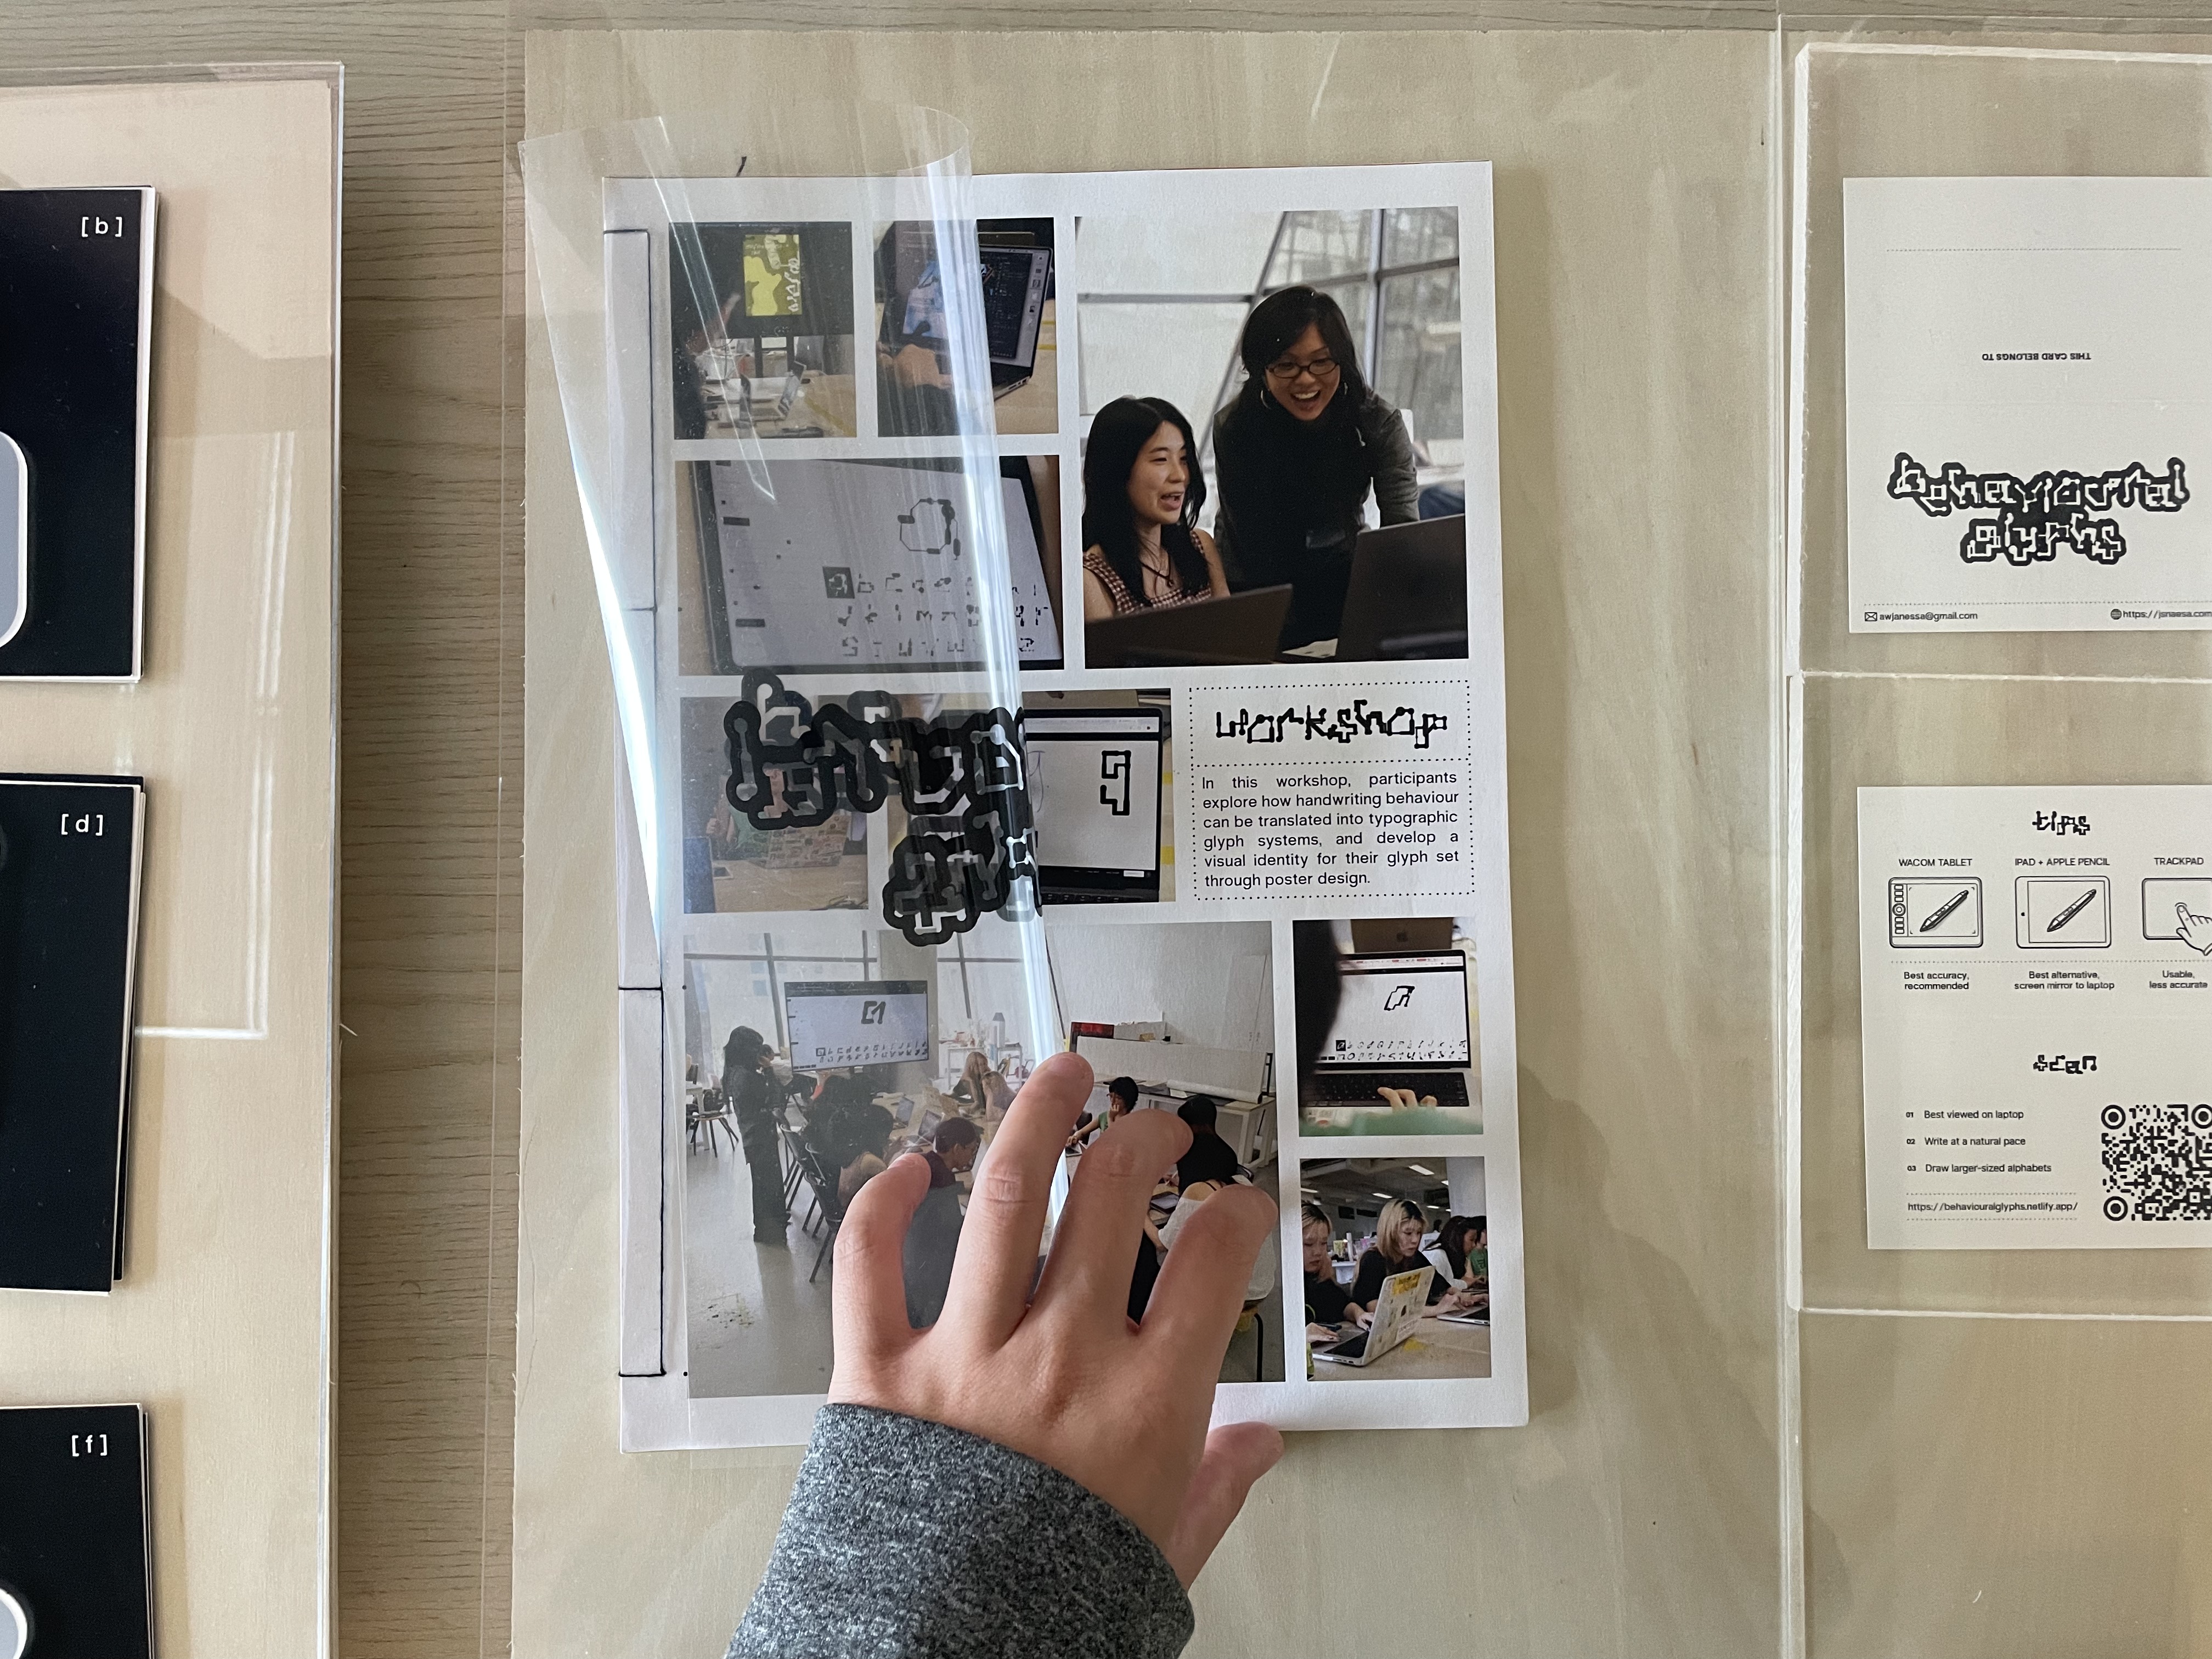
[ Designing my tool cards ]
Instruction + takeaway
Explaining the stamp station and linking back to the tool
After confirming that the stamps worked, I designed the tool cards that would sit with the stamp station. These cards needed to do two jobs at once: explain how to use the stamp set and direct people back to the digital tool.
The card includes instructions on how to interact with the tool, a QR code if people want to try it again at home, and a section where they can use the 3D printed stamps to stamp their names and bring the card home.

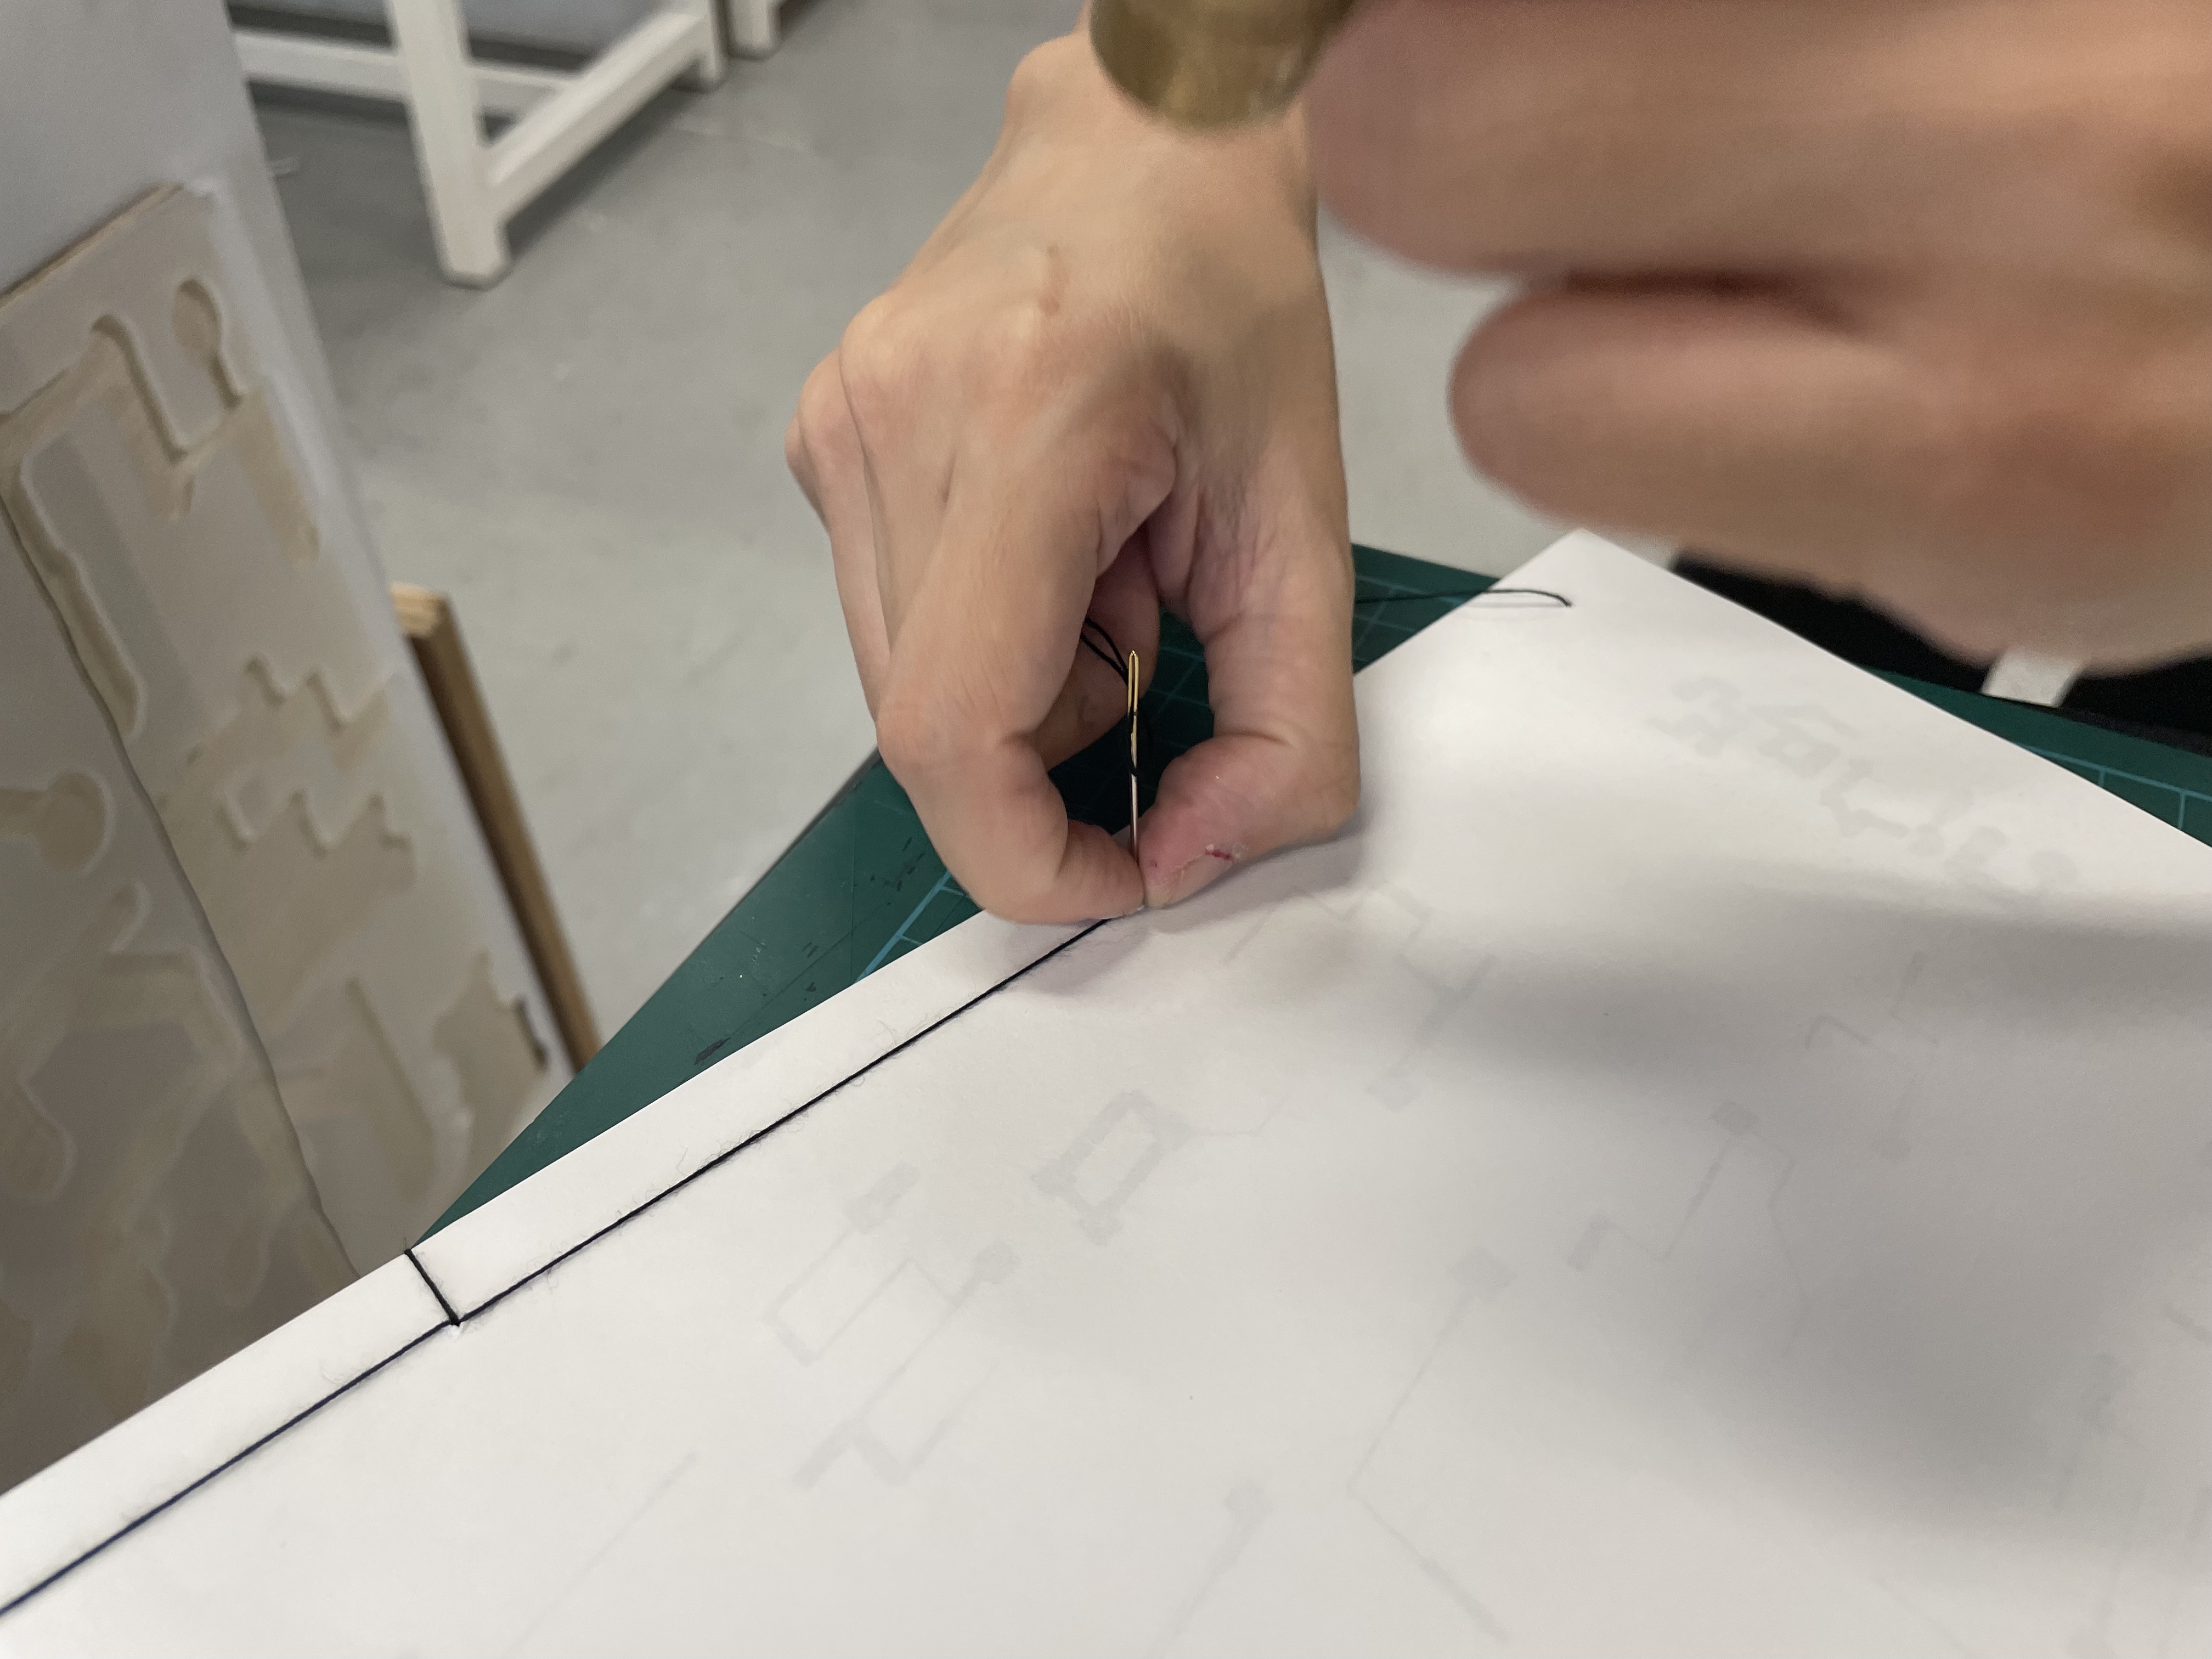
[ Japanese bind my workshop archive ]
Binding the workshop outcomes
Giving the posters a slower and more permanent form
I compiled the workshop posters into a bound archive using Japanese binding. This gave the workshop outcomes a more permanent and considered form, rather than leaving them as loose prints.
The binding process also introduced another material contrast in the project. While the website and glyph generation are digital, the archive becomes slower, quieter, and more tactile. That balance between screen and object felt important to preserve.
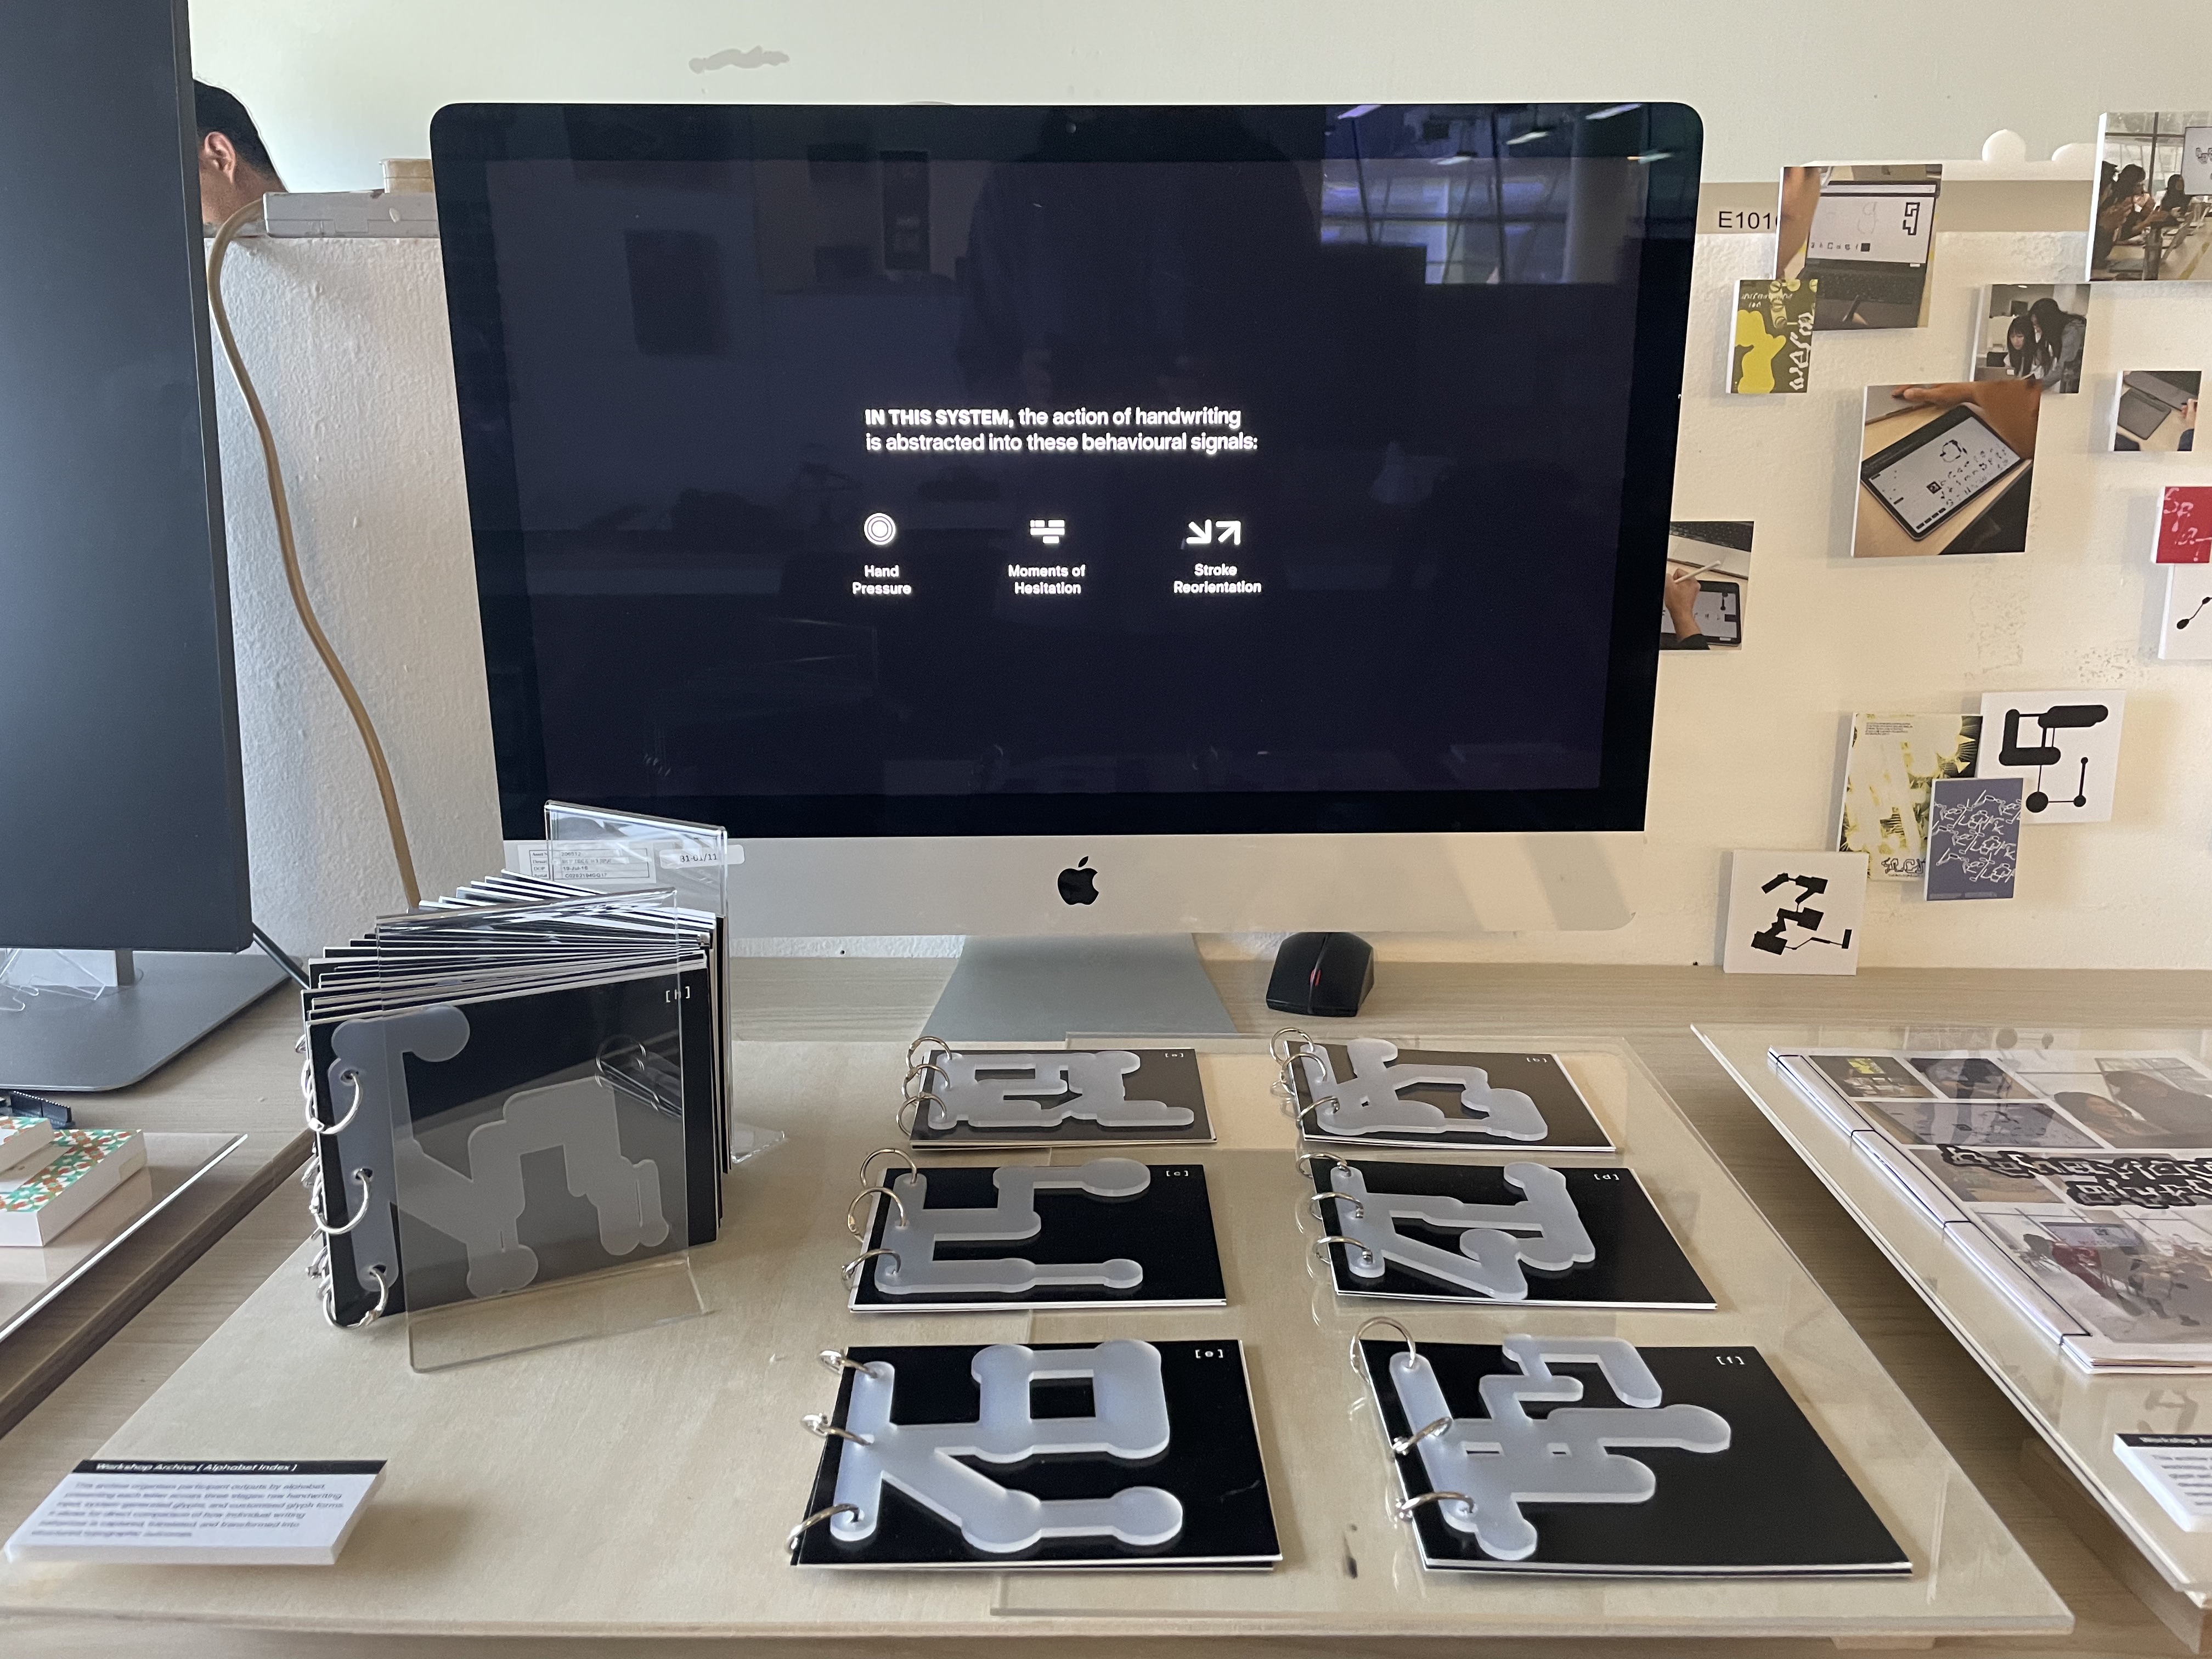
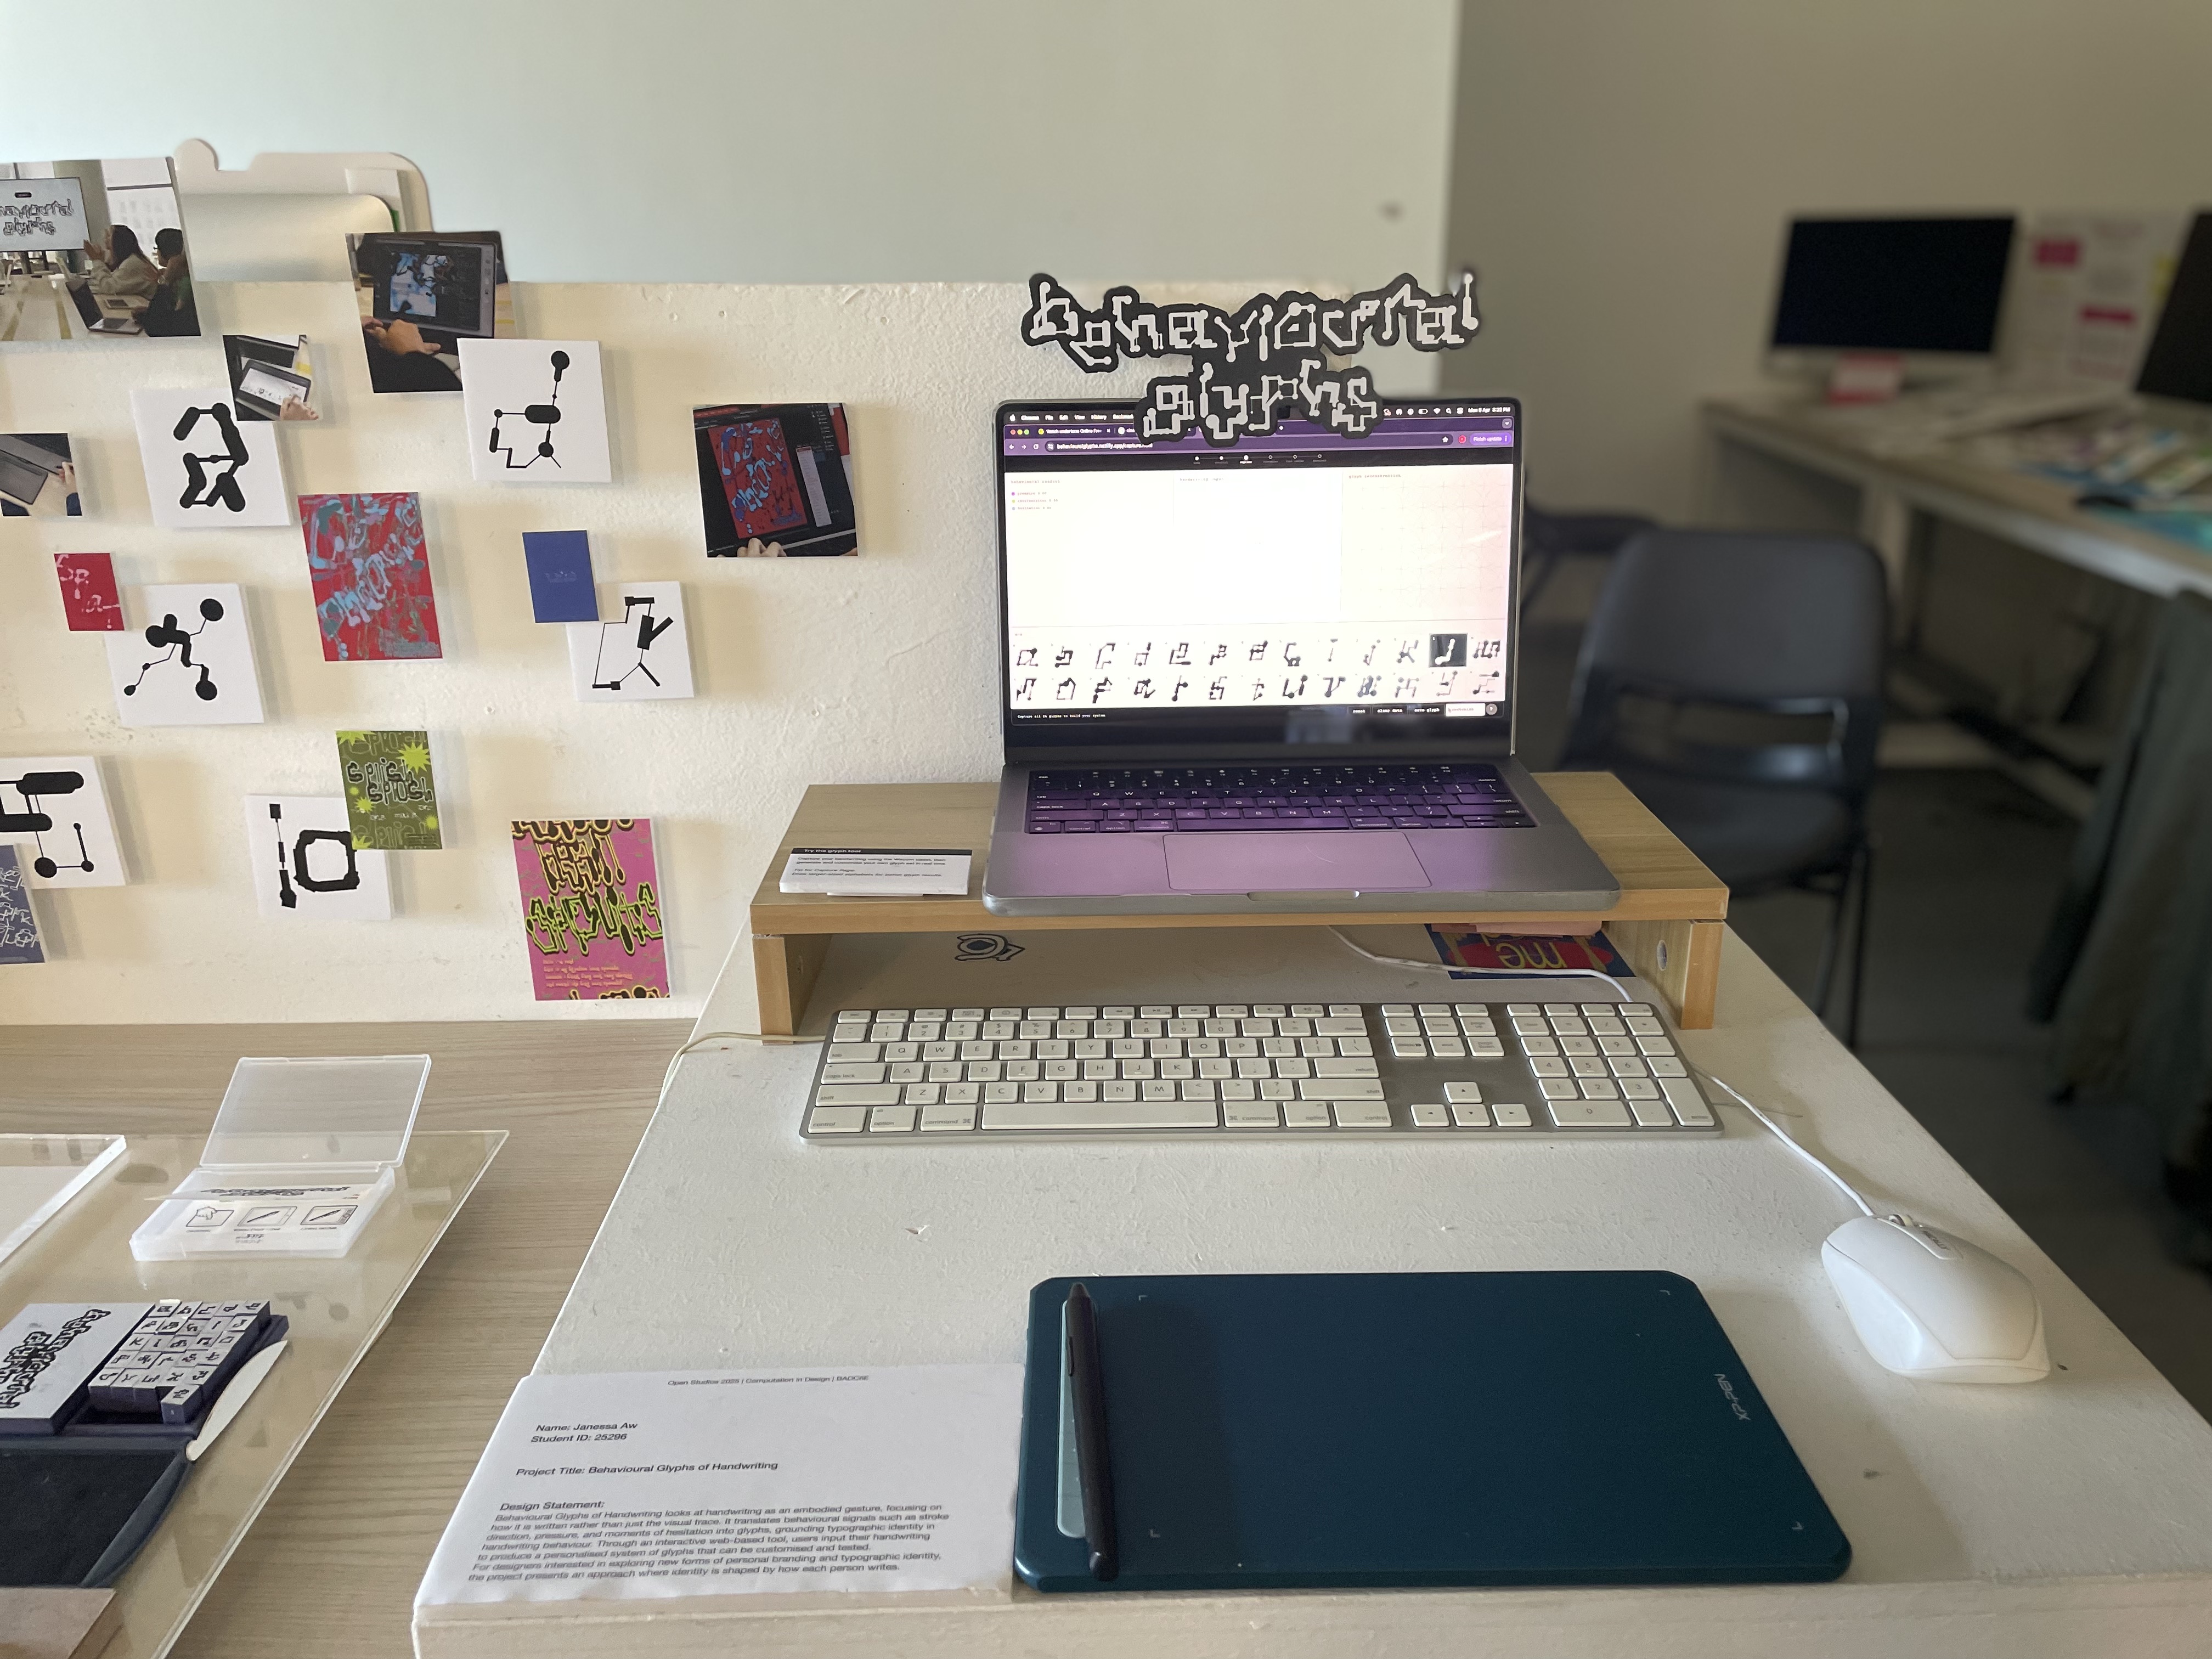
[ Final open studios set up ]
One full setup
From behavioural capture to physical interaction
By the end of the week, the project came together as one full setup. This included:
- Alphabet zines
- Workshop archive zine
- Take-home tool cards and stamp station
- Interactive station with the website tool
[ Next step ]
Rest
Recover after the most physically and mentally demanding production week of the project.
[ Next step ]
Prepare to present
Refine how the website, workshop, and collaterals are introduced so the project can be explained clearly during open studios.
[ Next step ]
Think about after open studios
Use the feedback and interactions from the final setup to decide how the system could continue developing after this stage.